Categories
News
Raspberry Pi moving timelapse
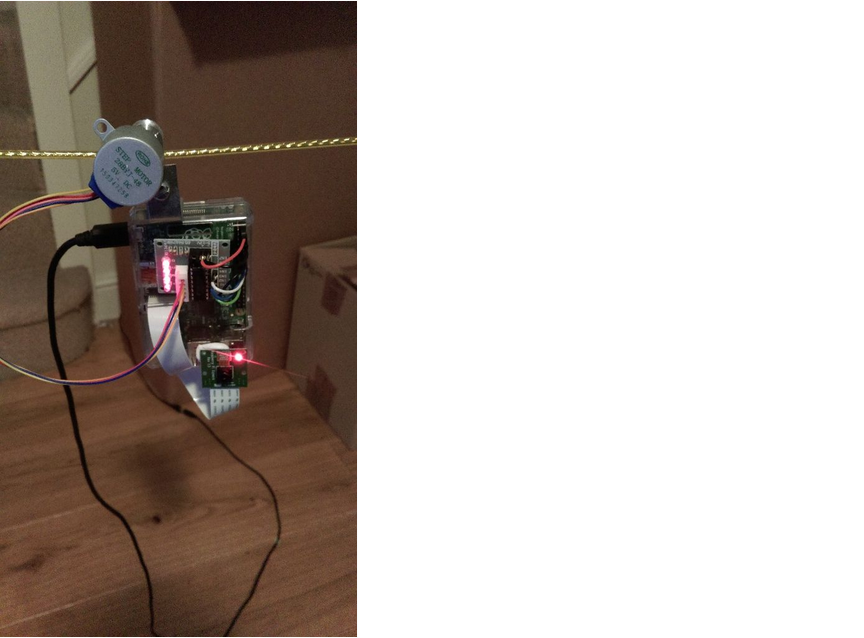
Today, we do a very fun project which is to apply raspberry pi to life. This is how to use a raspberry pi along with it’s camera to create beautiful moving timelapse videos (called hyperlapse vidoes) things you need: A raspberry Pi. The instructions are for a Raspberry Pi B+ but…