Creating, designing and printing new objects is always exciting, no matter the specific filament. However, when adding in unique and special materials, you can easily add yet another layer of interest to your prints. For instance, clear 3D printing filament that is transparent can not only be used to great visual effect, but also create some new and interesting uses. So let’s take a closer look at this guide where we cover all you need to know. Enjoy!
What Makes Filament Clear?
There are three major components that make up transparent filament, whether we’re talking about clear PLA filament or others 3D printer filament. In short, it will depend on the overall composition and purity of the base material used in the clear filament, meaning what particles and additives are used. The internal structure also plays a role when it comes to the manufacturing process, as the structure should be quite uniform and without pigmented materials.
And finally, when chasing clear 3D prints, it is also important that light is able to pass the transparent 3D printer filament uninterrupted. This depends on how light interacts with the material’s microstructure. The core principle lies in whether there are “light-scattering centers” inside the material, meaning that the light should not come into contact with a dense group of polymers or particles. Below is a quick table showing the characteristics necessary.
| Key Factor | What Makes It Clear | What Makes It Opaque |
| Composition | Pure base material with minimal additives. | Loaded with pigments (e.g., colorants, glitter) or fillers that block light. |
| Internal Structure | Smooth and uniform at a microscopic level. | Filled with countless particles that act like a dense “light-blocking fog.” |
| Light’s Journey | Light passes straight through or with only minor haze. | Light gets lost—constantly scattered and absorbed until no light gets through. |
The base material used should be made up of amorphous polymers, as the microstructure (the molecules) will have a random arrangement. This makes it possible for light to flow through the filament without scattering and diffusing the light, thus keeping the 3D printed object transparent to a large degree. On the other hand, semi-crystalline polymers form compact microstructures that can have colored pigment for an opaque result.
The additives used in the transparent 3D filament are another important factor. Typically, manufacturers often use a range of different additives to enrich their filament with vibrant colors, add a fake wood look thanks to sawdust or metal flakes, etc. When it comes to the best transparent filament types, they don’t have dyes, fillers or matting agents included, as this will break up the light and make the object more opaque.
Now that you have selected a clear filament and loaded it into your printer, you will also need to control the printing settings for the best results. We cover this in more detail below, so for now, all you need to know is that each layer can become a small boundary in itself where the light can refract and reflect, which is the main issue people experience when trying clear 3D printing techniques.
How to Choose the Best Clear Filament?
To select the most suitable clear filament, you need to balance optical clarity, tensile strength and printability according to your project’s needs. PLA provides ease of use and printability, whereas PETG is more durable and has better optical clarity. However, printing with PETG has more complicated print parameters than printing with PLA.
Translucent PLA vs PETG
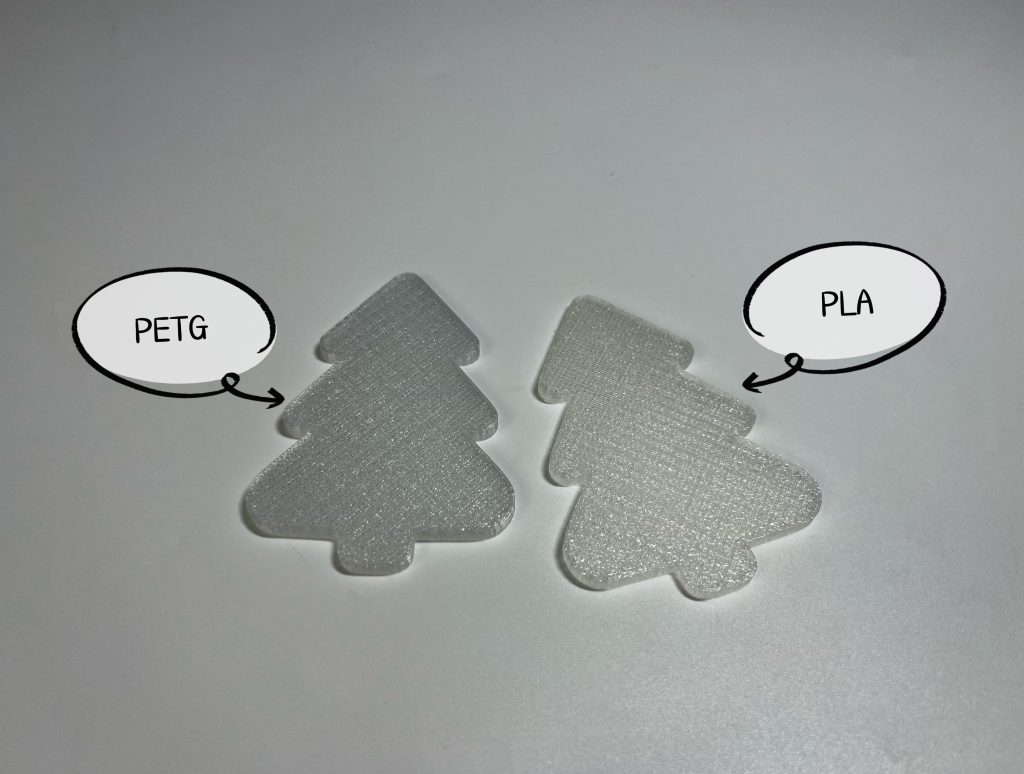
Translucent PLA prints easily and consistently, making it ideal for beginners or projects where light diffusion is acceptable rather than true clarity. It retains detail well but traps more visible layer lines, limiting how transparent it can become even with post-processing.
Translucent PETG prints feature much stronger interlayer adhesion and can withstand higher temperatures and, when tuned properly for drying and other properties, may be much clearer. Although stringing and drying conditions must be more closely controlled on PETG prints than on other prints, PETG would be more desirable if a glass-like effect is desired.
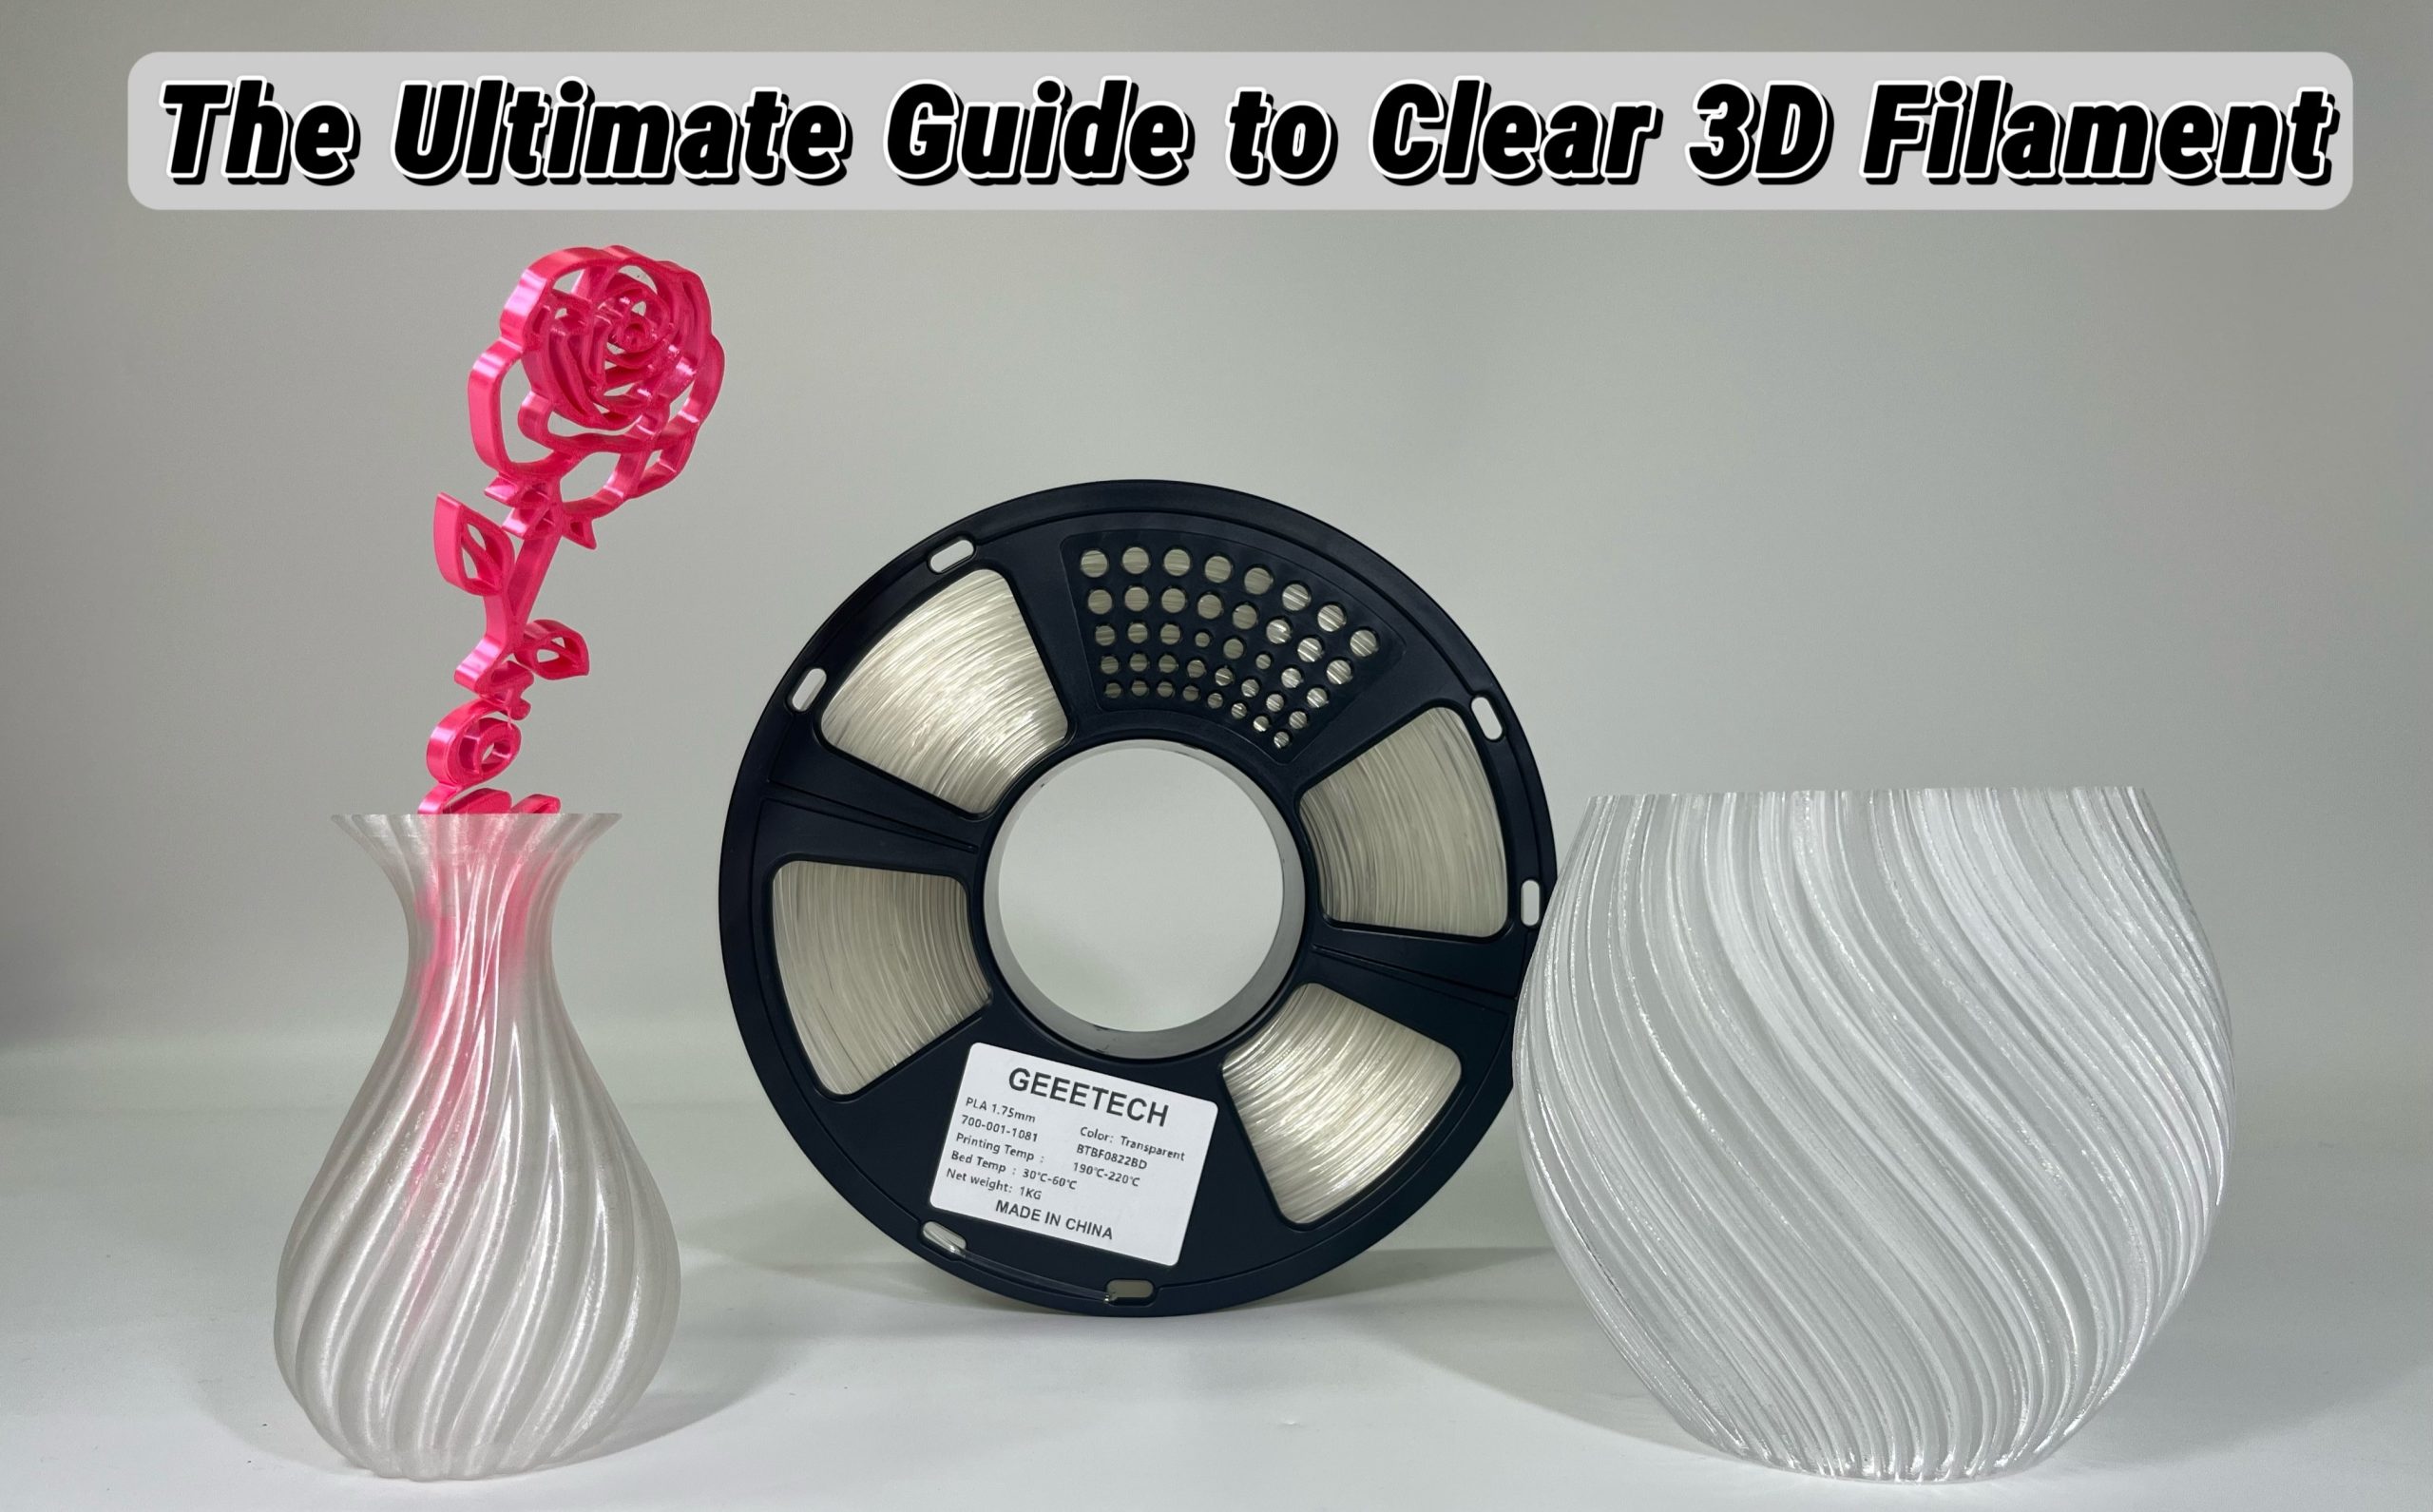
Due to the differences in their molecular structures and the resulting different ways of light scattering, under normal printing settings, Translucent PLA looks more milk white, PETG is clearer.
What Can Clear 3D Printer Filament Be Used For?
A clear 3D printing filament is best suited for uses that require light transmission and transparency. It may be used for creating lenses and lighting cover-ups and as a decoration item, prototype model with hidden elements, container for various fluids, and artworks portraying glass and crystal.
In many functional scenarios, your detailed prints can also be utilized as housing enclosures, inspection tools for laboratories and engineering models that enable individuals to see through them to observe the internal structures of their part designs. When creating parts and when producing prints for design, using transparent filaments provides an aesthetically unique style that can be unlocked only with clear filaments, making them a great choice for these purposes.
Understanding your own intentions and the uses of the filament is the key to choosing the best clear filament.
If you need to print objects that can be used at room temperature indoors, choose PLA. If you need to print functional, tough, impact-resistant, shock-resistant objects that can be used at high temperatures, then PETG is a more suitable choice.
How to Improve Transparency in 3D Printing?
In 3D printing, optically clear objects mean managing moisture, printing parameters, material extrusion, and surface finishes. Small deficiencies such as micro-bubbles, layer lines, and layer adhesion can cause objects to appear cloudy and whitish due to deflected light pathways. These methods can be employed for optimal transparency and more glass-like objects.
Printing Settings
In 3D printing, optically clear objects mean managing moisture, printing parameters, material extrusion, and surface finishes. Small deficiencies such as micro-bubbles, layer lines, and layer adhesion can cause objects to appear cloudy and whitish due to deflected light pathways. These methods can be employed for optimal transparency and more glass-like objects.
Drying Filaments
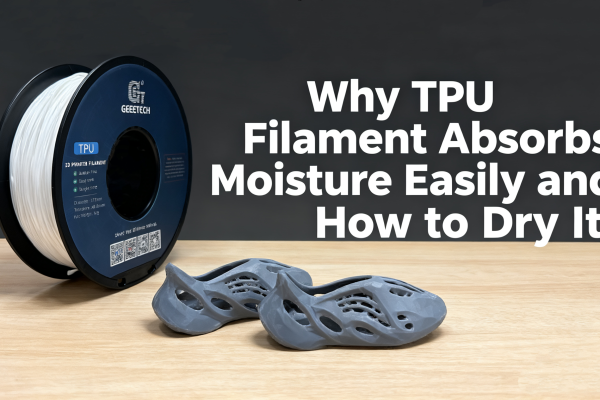
This is the most important phase. Dehydration-sensitive materials such as PETG, TPU, and nylon tend to create micro-bubbles upon being exposed to heat. It is important to dry the materials prior to use and then package and seal them to prevent them from getting wet again.
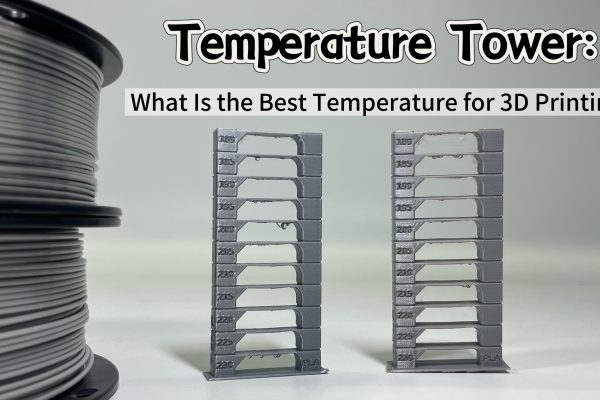
Increase the Printing Temperature
A slight increase in the nozzle temperature above the normal range can be beneficial for bonding layers, which reduces internal voids, then light is more likely to pass in a straight line inside. Thereby increasing transparency.
However, too much heat can compromise the material properties and strength and thus lower transparency. Therefore, it is very important to control the temperature range, generally, +5~15℃.
Reducing the Printing Speed
By printing at a slower rate, you allow extra time for the filament to melt and flow completely, which improves the interlayer adhesion strength and creates a smoother, clearer surface finish. Slower printing also creates less internal stress on the filament and fewer bubbles trapped within the filament. It is recommended to set the printing speed at 20~40 mm/s and make adjustments based on the specific situation.
Increase the Layer Height
By setting your layer height to a range between 0.2 ~ 0.28mm, this ensures fewer layers overall that end up being printed, thus creating fewer spots on each item that light scatters when passed through your print. A larger nozzle with a range between 0.6 and 0.8mm ensures greater clarity is achieved on prints due to the thicker lines produced by your nozzle. However, it is crucial that the printing temperature be simultaneously raised and the printing speed reduced to ensure that these thicker material layers can be fully fused to form a uniform whole. Otherwise, merely increasing the size will instead make the printing defects more obvious.
Enable Spiralize Outer Contour (Vase Mode)
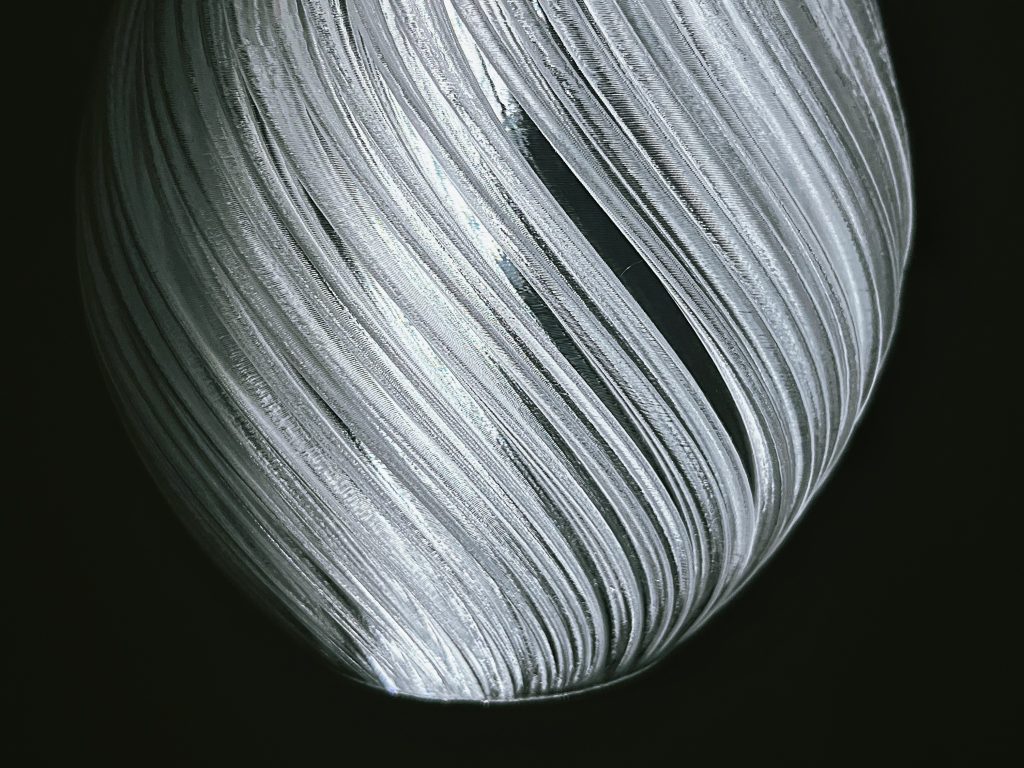
For single-wall prints without top layers, Vase Mode creates a continuous, seamless extrusion. This eliminates layer seams and discontinuities, dramatically improving optical clarity in hollow or display-only models. Following is a transparent PETG lampshade printed in vase mode.
Using Transparent or Glossy Printing Plates
A smooth, reflective build surface improves the clarity of the bottom layer and reduces surface haze. Clean the plate thoroughly to avoid artifacts that propagate upward through the print.
Enable “Minimum Retraction” or Disable Retraction
Retraction can create micro-defects, stringing, or small blobs, all of which are very visible in transparent materials. Reducing or disabling retraction minimizes these marks. If needed, combine this with good pressure advance calibration for consistent extrusion.
Reduce the Infill Density
And finally, lower infill allows more uninterrupted light transmission through the model. For maximum clarity, use low-density infill or print hollow parts when the design permits.

Post-Processing
The transparency of a print can be greatly improved after it has been printed. When using a method called post-processing, a clear print looks like a piece of glass, if you will. The post-processing methods below will help you do just that.
Sanding
Sanding with progressively finer grits of around 600 to 3000 grit size is another way to remove surface imperfections and layer lines. This way you can allow more light to pass through your 3D printed objects. You still need to keep an even surface finish when sanding, as an unevenly-sanded surface will create distortion in the final print.
Polishing
Polishing the print with a mechanical or manual process gives the surface its shine and removes any tiny scratches from the sanding process. In the process of polishing your print yourself, plastic-safe material polish works best.
Epoxy Coating
Applying a thin layer of clear epoxy resin will fill the micro-gaps between printed layers and create a smooth and glossy transparent finish for your printed part. In addition to creating a smooth finish, epoxies will increase the strength of the printed part.
Steam Polishing (ABS Only)
Using steam, acetone vapors can melt the top layer of your ABS print to smooth out the layer lines and create a glassy finish. To avoid melting your print too much or damaging intricate details, it must be done very carefully.
More post-processing information, please refer: 3D printing post-processing.
Conclusion
With the help of a quality setup and although at first it may seem difficult to achieve clear and clean 3D printed precision parts using clear filaments, clear models can definitely be produced. This guide should provide you with all the needed information to successfully create your preferred styles of prints. Happy printing!