If you have ever printed with your own 3D printer at home, you might have wondered what to do with 3D printer waste, and whether you could possibly recycle 3D printer filament at home. It is not a topic many people talk about in great detail, so this article will try to clear things up. Enjoy!
Why Should We Recycle 3D Printer Filament?
Every print that fails halfway through, or creates extra string and other unwanted extrusions, adds to the big pile of wasted filament that often just gets thrown out in the trash. This is especially true for multi-color 3D printers, since we not only deal with support rafts and test cubes, but also purge blocks and filament switches generated during prints.
The Environmental Aspect
This leads us to use way more filament than we really need to, which in turn can create an environmental impact in the long run, especially when thinking of printers around the globe creating a significant amount of waste on a daily basis.
The Economic Aspect
Throwing away perfectly good plastic not only wastes money, leading us to buy more and spend more on the material we waste, but potentially drives up the cost through supply and demand chains.
The Educational Aspect
Finally, if you are printing with your children, it can be a great way to look at recycling 3D printer filament in order to educate them about how to take better care of the environment and how to respect our planet. So let us take a closer look at some different methods and programs below.
Recycling by Companies
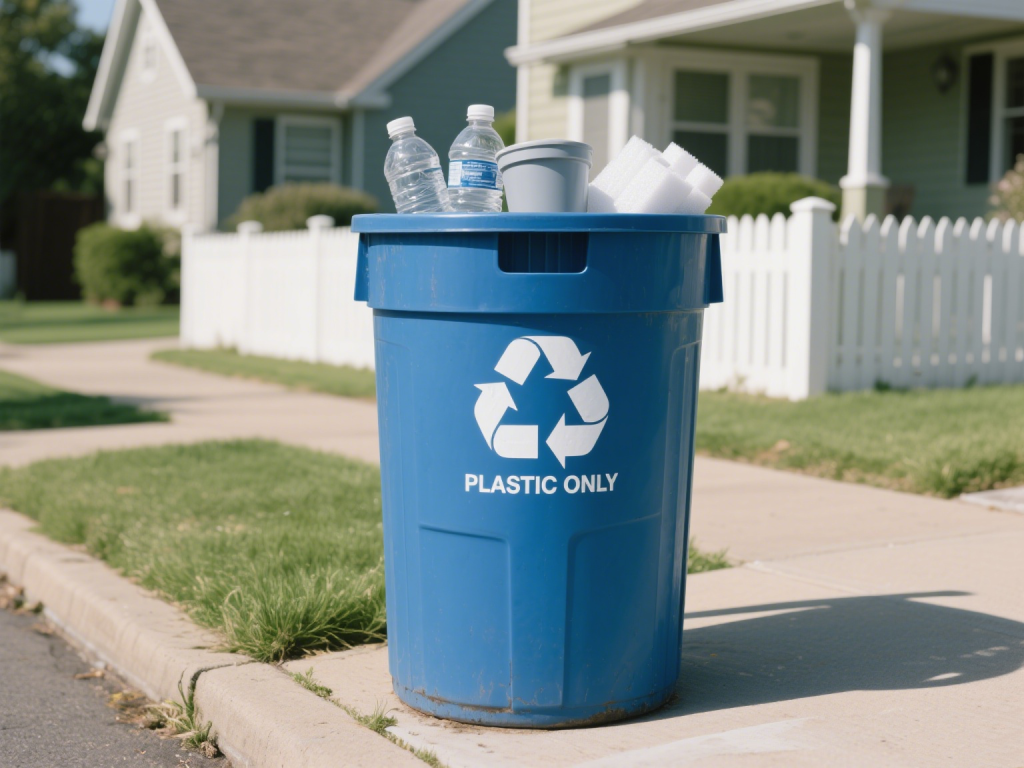
Many 3D printing material manufacturing companies have their own recycling programs, where the recycled plastic filament will be remade into fresh filament ready to be used for printers or other purposes. This is called “recycled filament”, and can often be cheaper but still a great overall material.
Other plastic product companies also place plastic recycling bins in the community to specifically collect filament and other types of plastic that can be recycled safely and effectively, so there are a few great alternatives to simply throwing out your old filament in the trash bin directly.
Recycling at Home
Another way you can recycle filaments is if you are willing to put in some more work at home, where you can use different methods in order to achieve some good results that are environmentally friendly, sustainable and cost-effective filament recycling.
Step 1: Sorting the waste filaments
Typically, you will want to sort your different types of filament based on the material, so ABS in one pile, PLA in another pile and so forth. Different types of materials cannot be mixed as they have different chemical makeups. Next, you can also sort by color if you like.
Step 2: Shredding
If you have a messy ball of old stringy material, or half a 3D print that failed for some reason, you will need to process this. Typically, it is done by shredding, by putting the printing waste into a 3d printer shredder and then breaking it into small pieces.
Your goal should be to get small and uniform fragments, as this will help you later on when you have to melt and extrude the wasted filament. Not everyone has the money for a specially designed shredder, so an alternative is a pair of scissors or wire strippers to cut up the plastic into smaller chunks.
Step 3: Drying
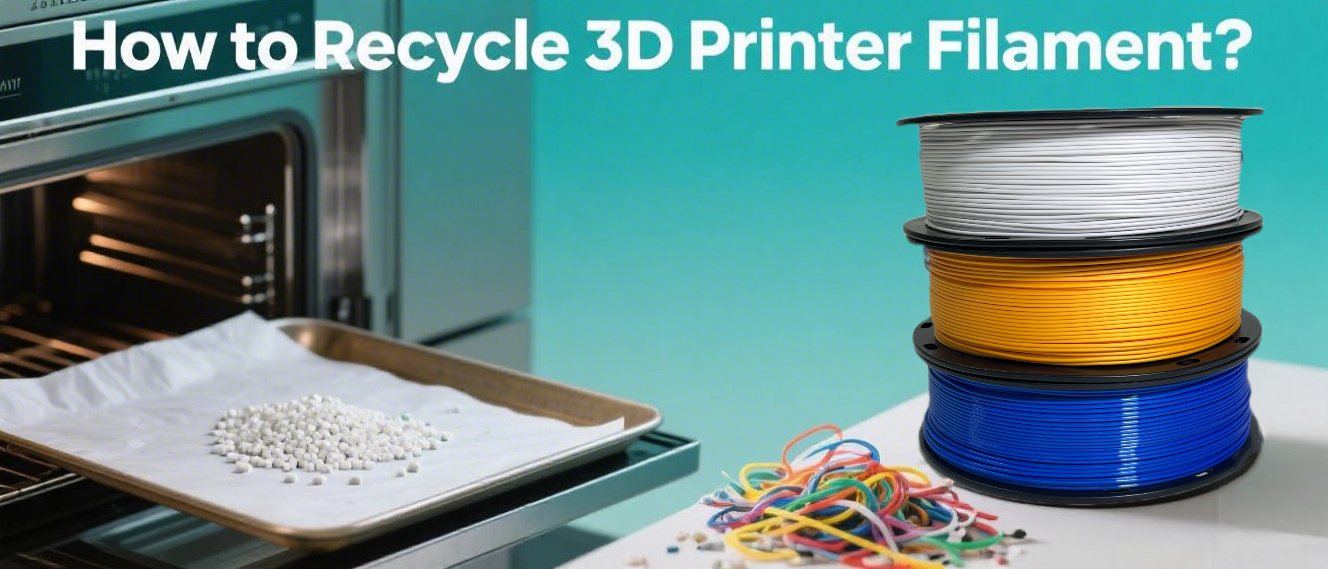
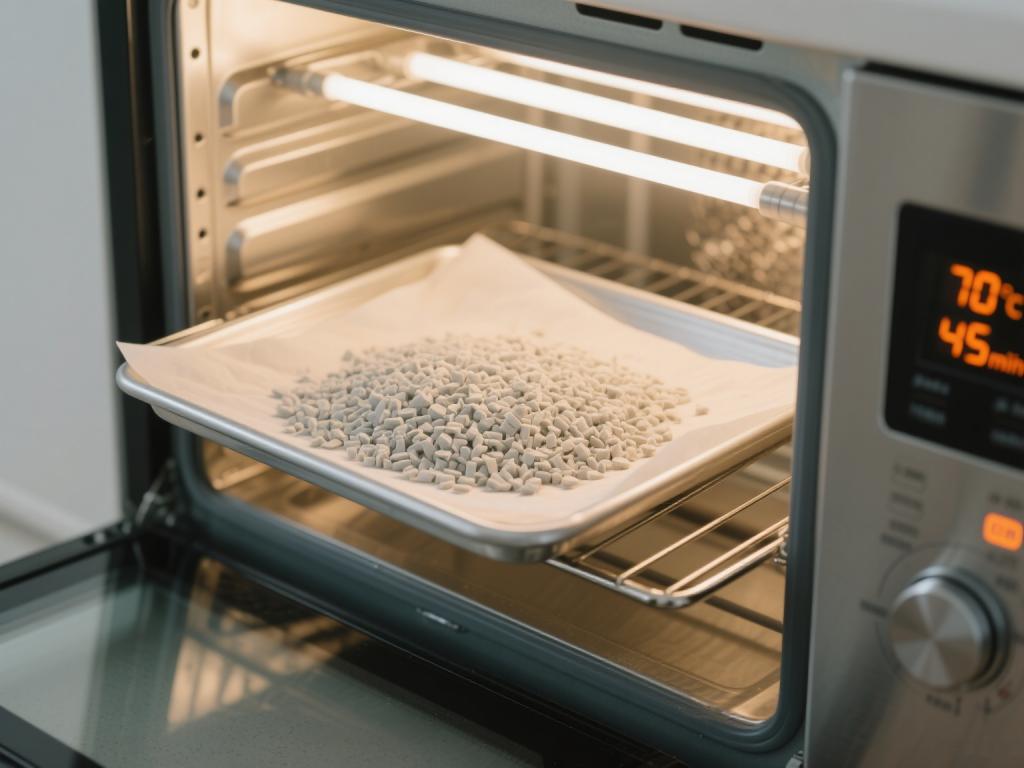
Before you are ready to manipulate the waste filament, you should first ensure it is free of any moisture. This is done by drying your filament poops or scraps which have been shredded by you, either using a dedicated filament dryer, or some of the easily available tools at home, like an oven (preferably with a convection fan), a rice cooker (on “keep warm” mode) or similar methods. Below you will find our recommended settings for dedicated dryer machines.
Dedicated filament dryer settings:
| Material | Drying Temperature | Drying Time | Notes |
| PLA | 45°C – 50°C (113°F – 122°F) | 4 – 6 hours | Avoid higher temperatures, as PLA can become soft and even fuse together. |
| PETG | 60°C – 65°C (140°F – 149°F) | 6 – 8 hours | More hygroscopic than PLA, requiring higher temperatures and longer times. |
| ABS | 70°C – 80°C (158°F – 176°F) | 4 – 6 hours | Requires relatively high temperatures to effectively remove moisture. |
| Nylon (PA) | 70°C – 80°C (158°F – 176°F) | 8 – 12+ hours | Extremely hygroscopic. Often requires 12+ hours, or even 24 hours for severely wet material. |
| TPU/TPE | 50°C – 55°C (122°F – 131°F) | 6 – 8 hours | Flexible materials are also prone to moisture absorption. |
For safety reasons, only PLA is chosen for home recycling as it does not release any toxic fumes and so on.
Oven:
Spread the fragments on a baking tray (lined with parchment paper). Set the oven to its lowest possible temperature (typically no higher than 65-80°C ), and leave the door slightly ajar to release moisture. Bake for 30-60 minutes, watching closely to prevent melting.
Rice Cooker:
Place fragments in the pot, turn on the “keep warm” setting, and leave the lid slightly open with a chopstick for 4-6 hours.
Step 4: Extruding/Melting and Molding
Professional:
If you are printing often, and tend to collect large amounts of waste material, then it can be a good investment to purchase a special filament extruder, also known as a 3d printer filament recycler, to help you create recycled filament at home. This makes it easy and efficient, as the machine will simply need to be fed the processed 3D printing materials, then it will “spit out” the correct type of filament in terms of size and consistency.

Household:
However, due to the high price of filament extruder, it is not cost-effective for home enthusiasts that print only rarely, or anyone on a budget. Luckily, there are some a creative workarounds, namely melting and molding. By following the steps below, you can get some good results with a little practice.
- Fill the plastic fragments into a can, no more than 1/3 full with PLA filament fragments.
- Hold the can steadily over the heat source with your tongs. Constantly move the can to distribute heat.
- The fragments will first soften (1-2 minutes), then clump together, and finally become a viscous, molten liquid. At some point you will see it bubbling, this is any remaining moisture boiling away. Once the bubbling mostly stops, you have a thick, honey-like liquid.
- This entire melting process typically takes 3 to 6 minutes per small batch. Do not overheat until it smokes, as this degrades the plastic.
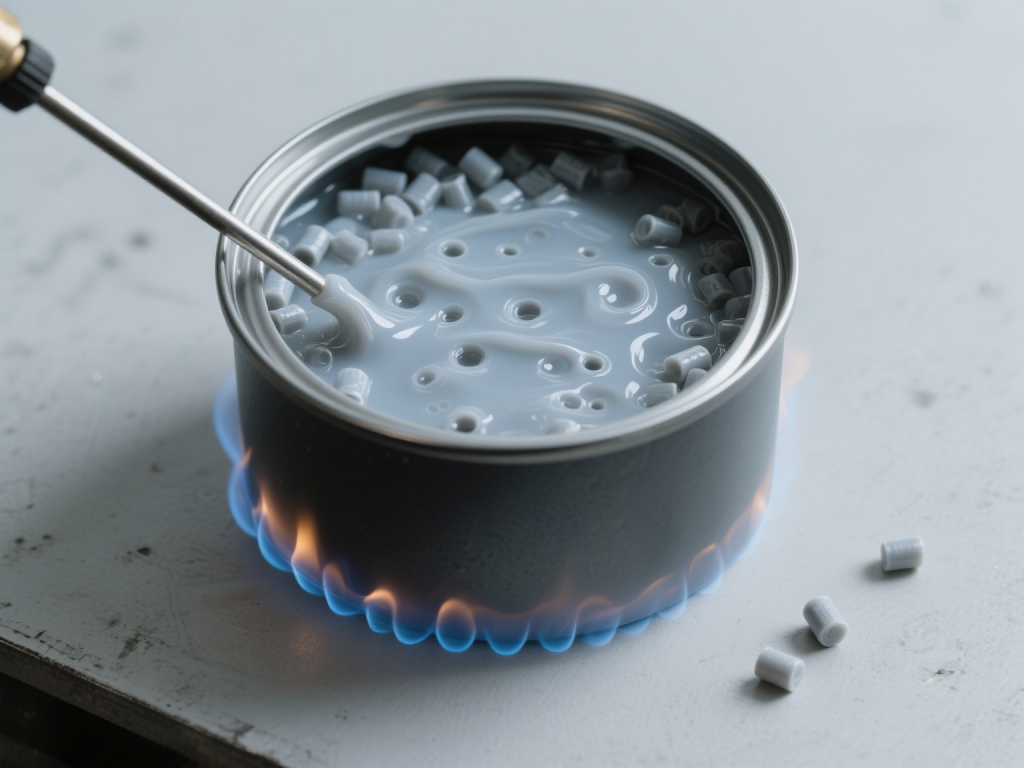
- Now it is time to pour. Carefully pour the molten PLA into your silicone mold.

Step 5: Spooling & Cooling
Professional:
If you have invested in a filament extruder, you might have gotten a special cooling tank or some other gadget to help with the cooling and spooling process, as the extruded hot filament needs to be cooled and set immediately through a fan or water-cooling tank. After cooling, it is evenly wound onto the empty spool through a reel.
Household:
If you are doing this on a budget you can also get some good results with some care. First you need to let the mold sit undisturbed and cool down. Smaller amounts of filament will typically be cool to the touch and solid in 15-30 minutes. Larger objects may take over an hour. Do not try to demold early, as the plastic can be flexible but still soft. Once the material is cooled down you can demold.
Conclusion
This was a quick guide on how to recycle 3D printing filaments. We could go into much more detail with each step, so if you are unsure about anything be sure to research even further to learn the different techniques, or even watch a video or two so that you fully understand all the steps. We hope this guide helped, and made you think about all the wasted material next time you print. Take care!
