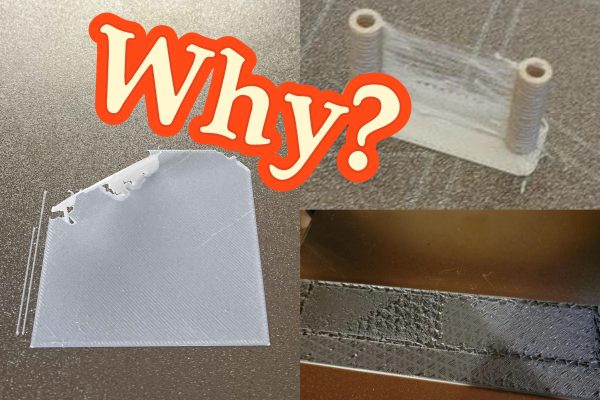
One of the more frustrating parts of 3D printing any design, is when you experience hairy strings or blobs of filament in the middle of an hour-long project. Oftentimes, this can not only look like a 3D printed spider web, but also mess up your entire print setting you back on both time and material cost. One solution is better retraction, which is what this article will cover. So keep reading if you want to get better prints and fewer headaches. Enjoy!
What Is Retraction?
When 3D printing items, the hot end is always under pressure with the filament being extruded from it. This is true even when the machine is not actually printing something, and simply traveling to a new point-the pressure applied can make the filament ooze.
Retraction aims to solve this problem by pulling back the filament for a small distance when the nozzle is moving, creating a vacuum which helps to stop any leaks of the melted filament. You can start dialing in the sweet spot where you eliminate strings and blobs by adjusting settings in your 3D printer.
How to Set Retraction?
You will need to use your 3D printing software in order to adjust your retraction, whether you want to enable/disable the function, or just tweak some of the parameters.
Explanation of Key Parameters
To help you navigate your specific 3D printing application, while also adjusting your 3D printing retraction settings accurately, we will explain the concept of the most common parameters. Just keep in mind, that depending on your specific program of choice, these options can be called different things and some applications might not have all of the options listed below.
Retraction Distance
The actual distance for retraction is a common parameter for most slicing applications. It simply defines how far the filament is drawn back from the extruder. You can experiment with it, but you can also look up online what works well for your model and try what other people have found as a good baseline.
Retraction Speed
Next up, we have the speed of the retraction, which is a parameter that determines just how quickly the filament is retracted. The faster this speed is set to be, the cleaner you will typically experience your prints but it will also increase the risk of snapping the filament. On the other hand, a speed setting that is too slow can ooze 3D printing material from time to time.
Minimum Travel Distance
As the name suggests, this parameter controls what the minimum acceptable distance a retraction is triggered. On short moves where the extruder will only be travelling a short distance, it can be unnecessary to retract the filament, so this prevents unnecessary retraction on very short travels. It is common to use 0.5–2.0 mm for this.
Z Hop
This parameter controls whether the 3D printer will attempt to lift the nozzle slightly when it travels. Enabling this function can prevent your nozzle from hitting your 3D printed objects when in motion, but can also increase the probability of stringing. We advise you to test out both options to see what works best for your printer.
Retraction Settings for Different Extruders
- Direct Drive Retraction Settings
The Direct Drive extruder only requires a shorter distance, such as 0.5–2 mm, as it is mounted directly above the hot end. Because of this, the distance from the gear itself and down to the melt zone is short, meaning a short distance will be plenty to create the vacuum in the nozzle. - Bowden Extruder Retraction Settings
A Bowden extruder generally requires a longer retraction distance, such as 4–7 mm, due to its longer pipeline and greater elasticity. This is because the slack is the first “part” to be retracted and only then the actual pull will take place.
Retraction Settings for Different Materials
It is also important to consider what 3D printing material and 3D printer you are using. Different materials with their own unique properties require slightly different settings. So if you experience that your PLA filament causes oozing, you can use the table below as a solid base for perfectly tweaking your 3D printer and 3D printing filament for the best possible 3D printer retraction settings. We recommend that you only change one thing per print in order to validate the expected effect.
(PS: The following are just some comprehensive reference Settings, as different printers have different settings and conditions. )
| Material | Retraction Distance (Direct Drive) (mm) | Retraction Distance (Bowden) (mm) | Retraction Speed (mm/s) | Minimum Travel Distance (mm) | Z Hop (mm) |
| PLA | 0.8–2.0 | 4–6 | 35–45 | 0.5–1.0 | 0.2–0.4 |
| PETG | 0.8–1.5 | 3–5 | 25–35 | 0.8–1.0 | 0.2–0.4 |
| ABS/ASA | 1–2 | 4–5 | 35–45 | 0.5–1.0 | 0.2–0.4 |
| Nyon (PA) | 1–2 | 4–6 | 25–35 | 0.8–1.2 | 0.3–0.6 |
| TPU / TPE | 0.5–1 | 0–2 (often disabled) | 15–25 | 1.0–2.0 | 0.2–0.4 |
Typical Symptoms of Retraction Failure
Many beginners and intermediate hobbyists often have trouble identifying whether their problems are caused by retraction failure or some other aspect on the printing process. And for good reason, the topic can quickly become quite complex. So we have created a short guide to help you figure out whether your symptoms could be related to retraction failure.
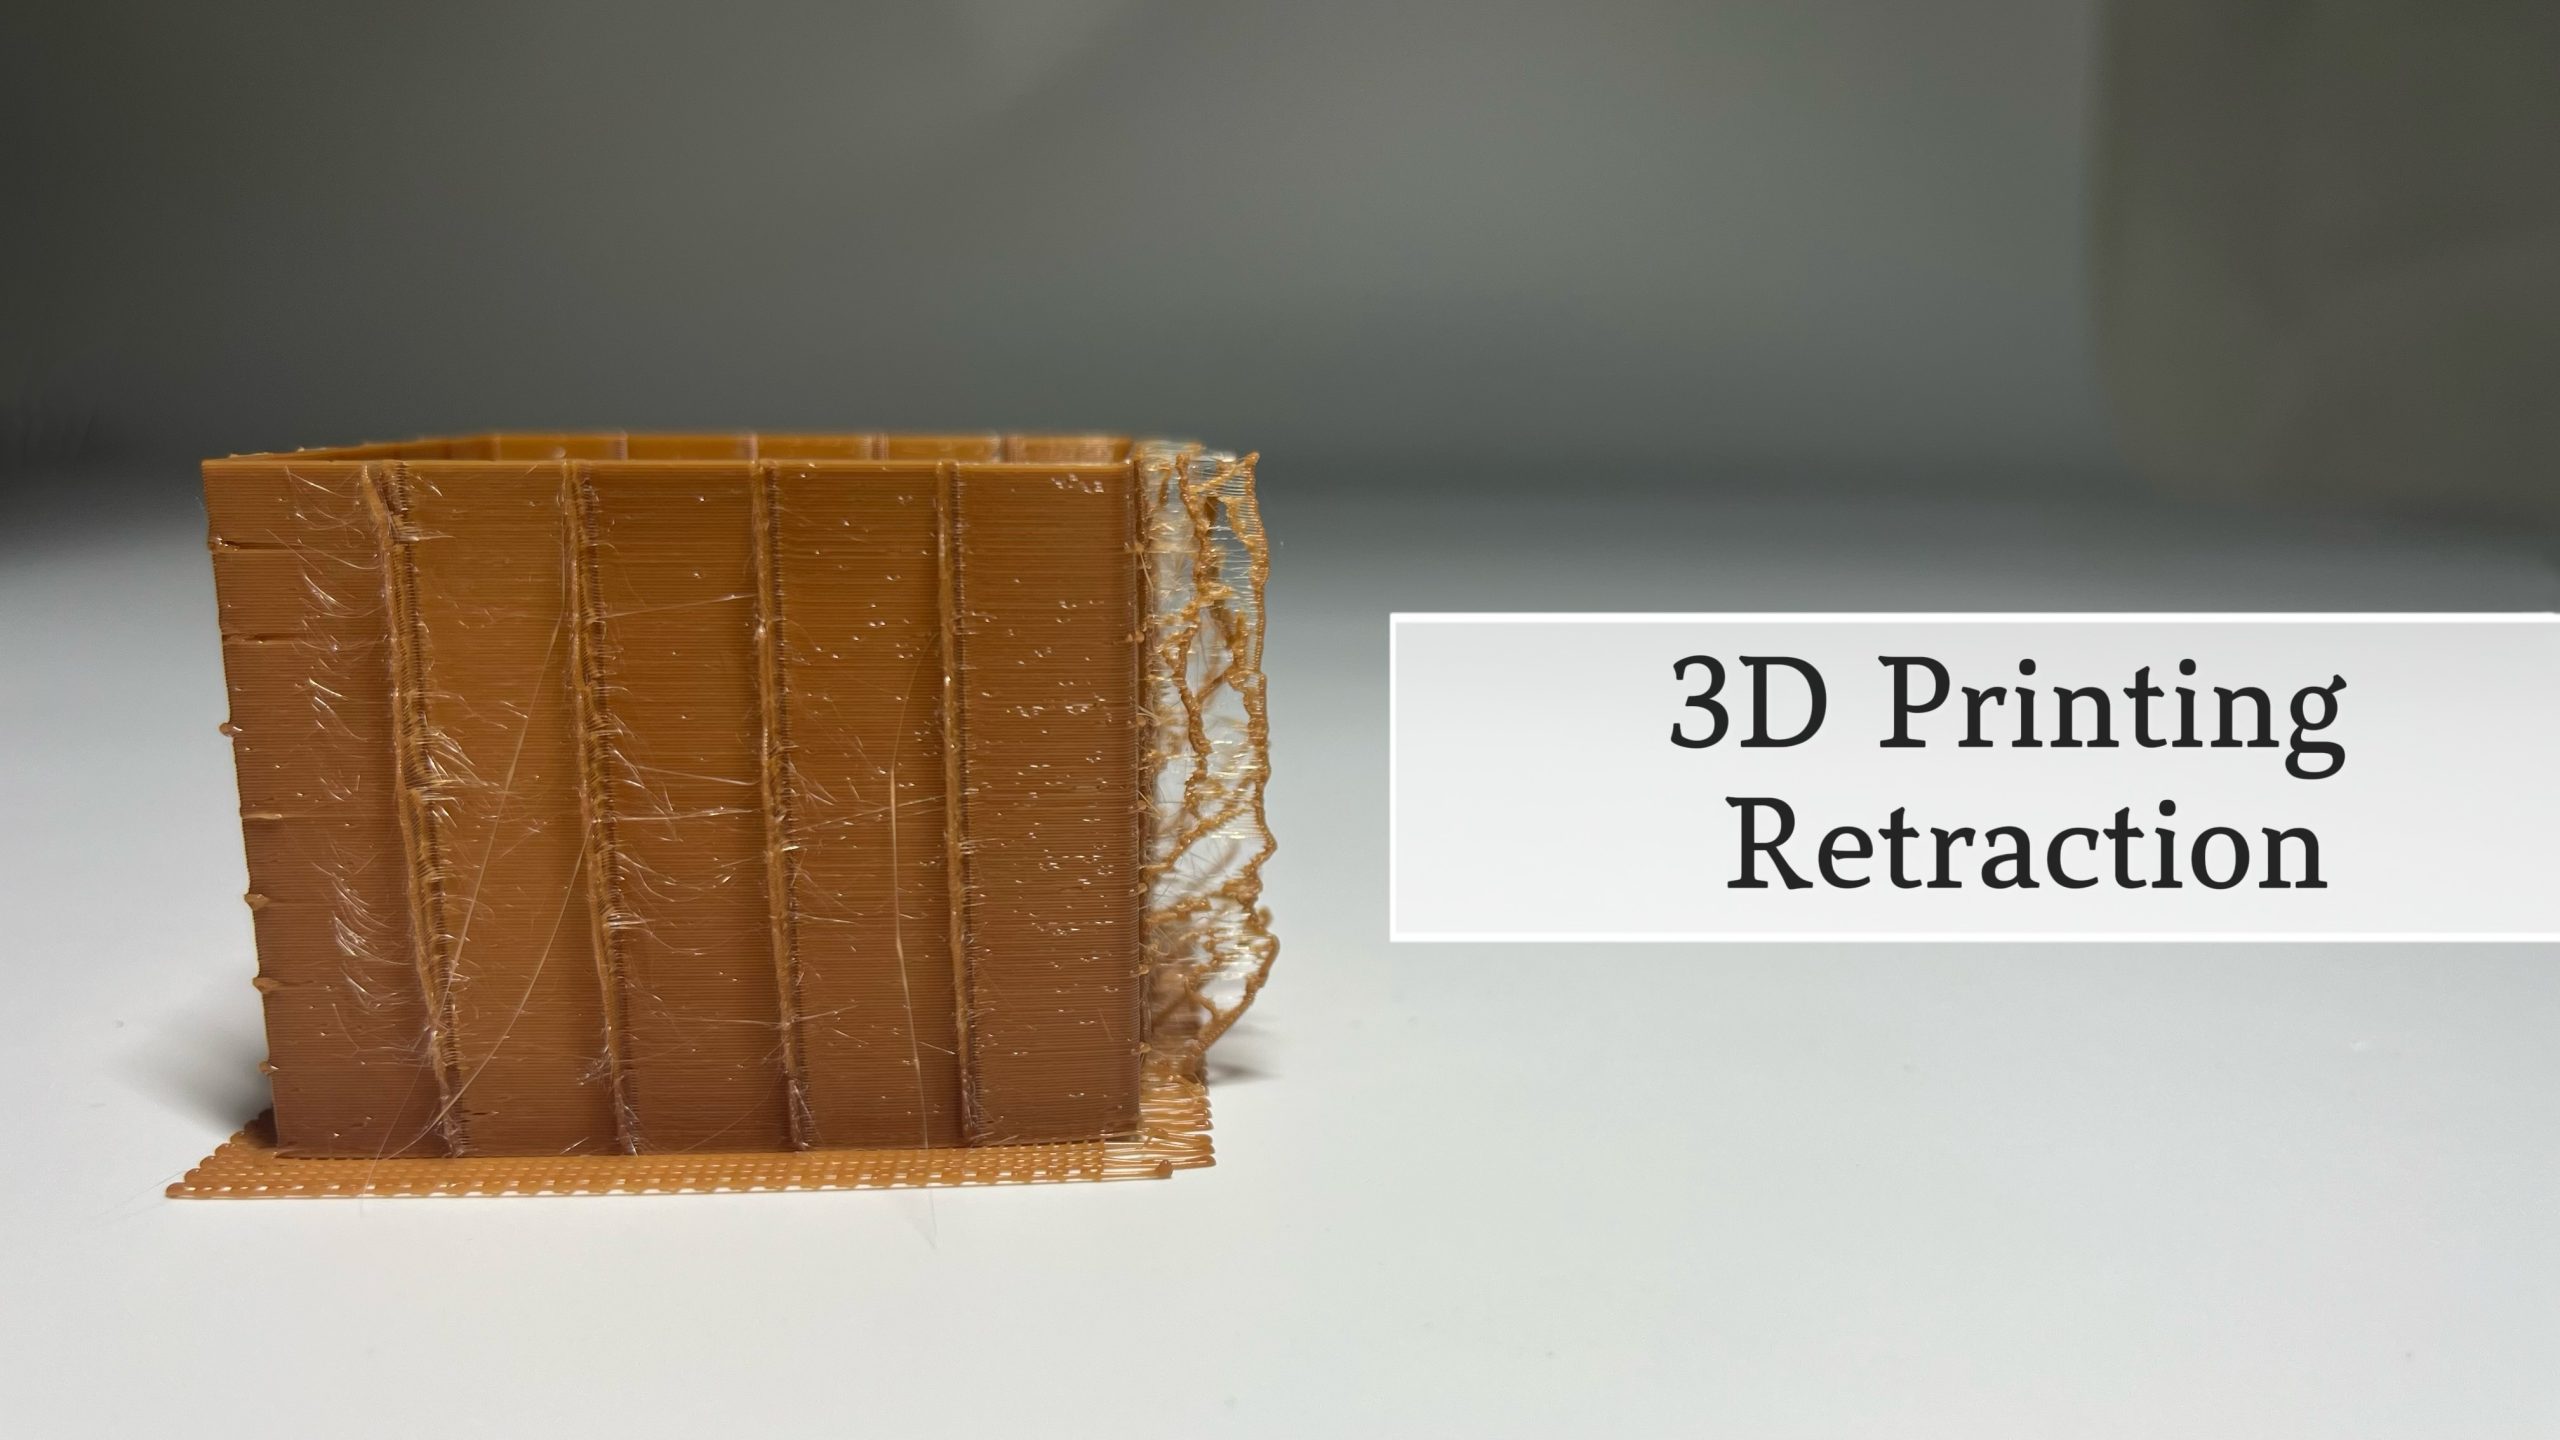
Stringing / Oozing
Once you have seen this problem in your own prints, you will understand both of the words instantly. Stringing and oozing is what happens when you get long, thin lines of filament that does not follow the expected layer pattern. They can be caused by a number of different things, but relating to retraction there are typically three main reasons.
- Stringing can happen because the retraction distance is not great enough, which is the most common issue people have. As we mentioned earlier, if the filament is not pulled far enough back into the nozzle, the filament can leak out.
- Another issue is that your retraction speed is too slow. If the retraction is not quick enough, won’t relieve the pressure in the nozzle effectively to allow the molten filament to stretch and turn into long strings.
- While not strictly a retraction issue, you can also experience stringing if your print temperature is too high, as the filament becomes more “runny” and prone to stringing.
More solutions of string, please refer: 5 Easy Ways to Prevent 3D Print Stringing.
Blobbing / Zits on the Surface
Another common problem is what we call blobbing, which is categorized by small bumps or blobs on your printed objects. This problem tends to most commonly happen at the start and end of a perimeter, since it is related to the restart of the extrusion. The reasons include:
- Extruding too much after retraction is the most normal cause of this, as the printer tries to push out too much filament when beginning to print again after having travelled. Typically you will need to lower the retraction distance or the extra restart distance, depending on your slicing software.
- The actual speed of retraction can also be too high, as it can knock the filament into the melt zone by accident which increases the pressure and creates the blobbing effect.
Bonus tip: If you have not enabled “Coasting” or “Wiping” in your slicer, activating these features can often help remove the blobbing artefacts, as they adjust the extrusion behavior to help avoid blobs.
How to Run Retraction Tests to Find the Perfect Values
In order to find the best values, whether for your TPU retraction settings, or PLA retraction speed, you follow this step-by-step guide to dial, in order to learn how to reduce stringing 3D printing artefacts.
- Dry filament: This is very important because too much moisture may give you a lot of stringing and poor extrusion.
- Print a temperature tower: You can try to print a temperature tower that gradually changes the printing temperature according to the height of an object to find an optimal value. This can help identify the best extrusion temperature for your specific filament.
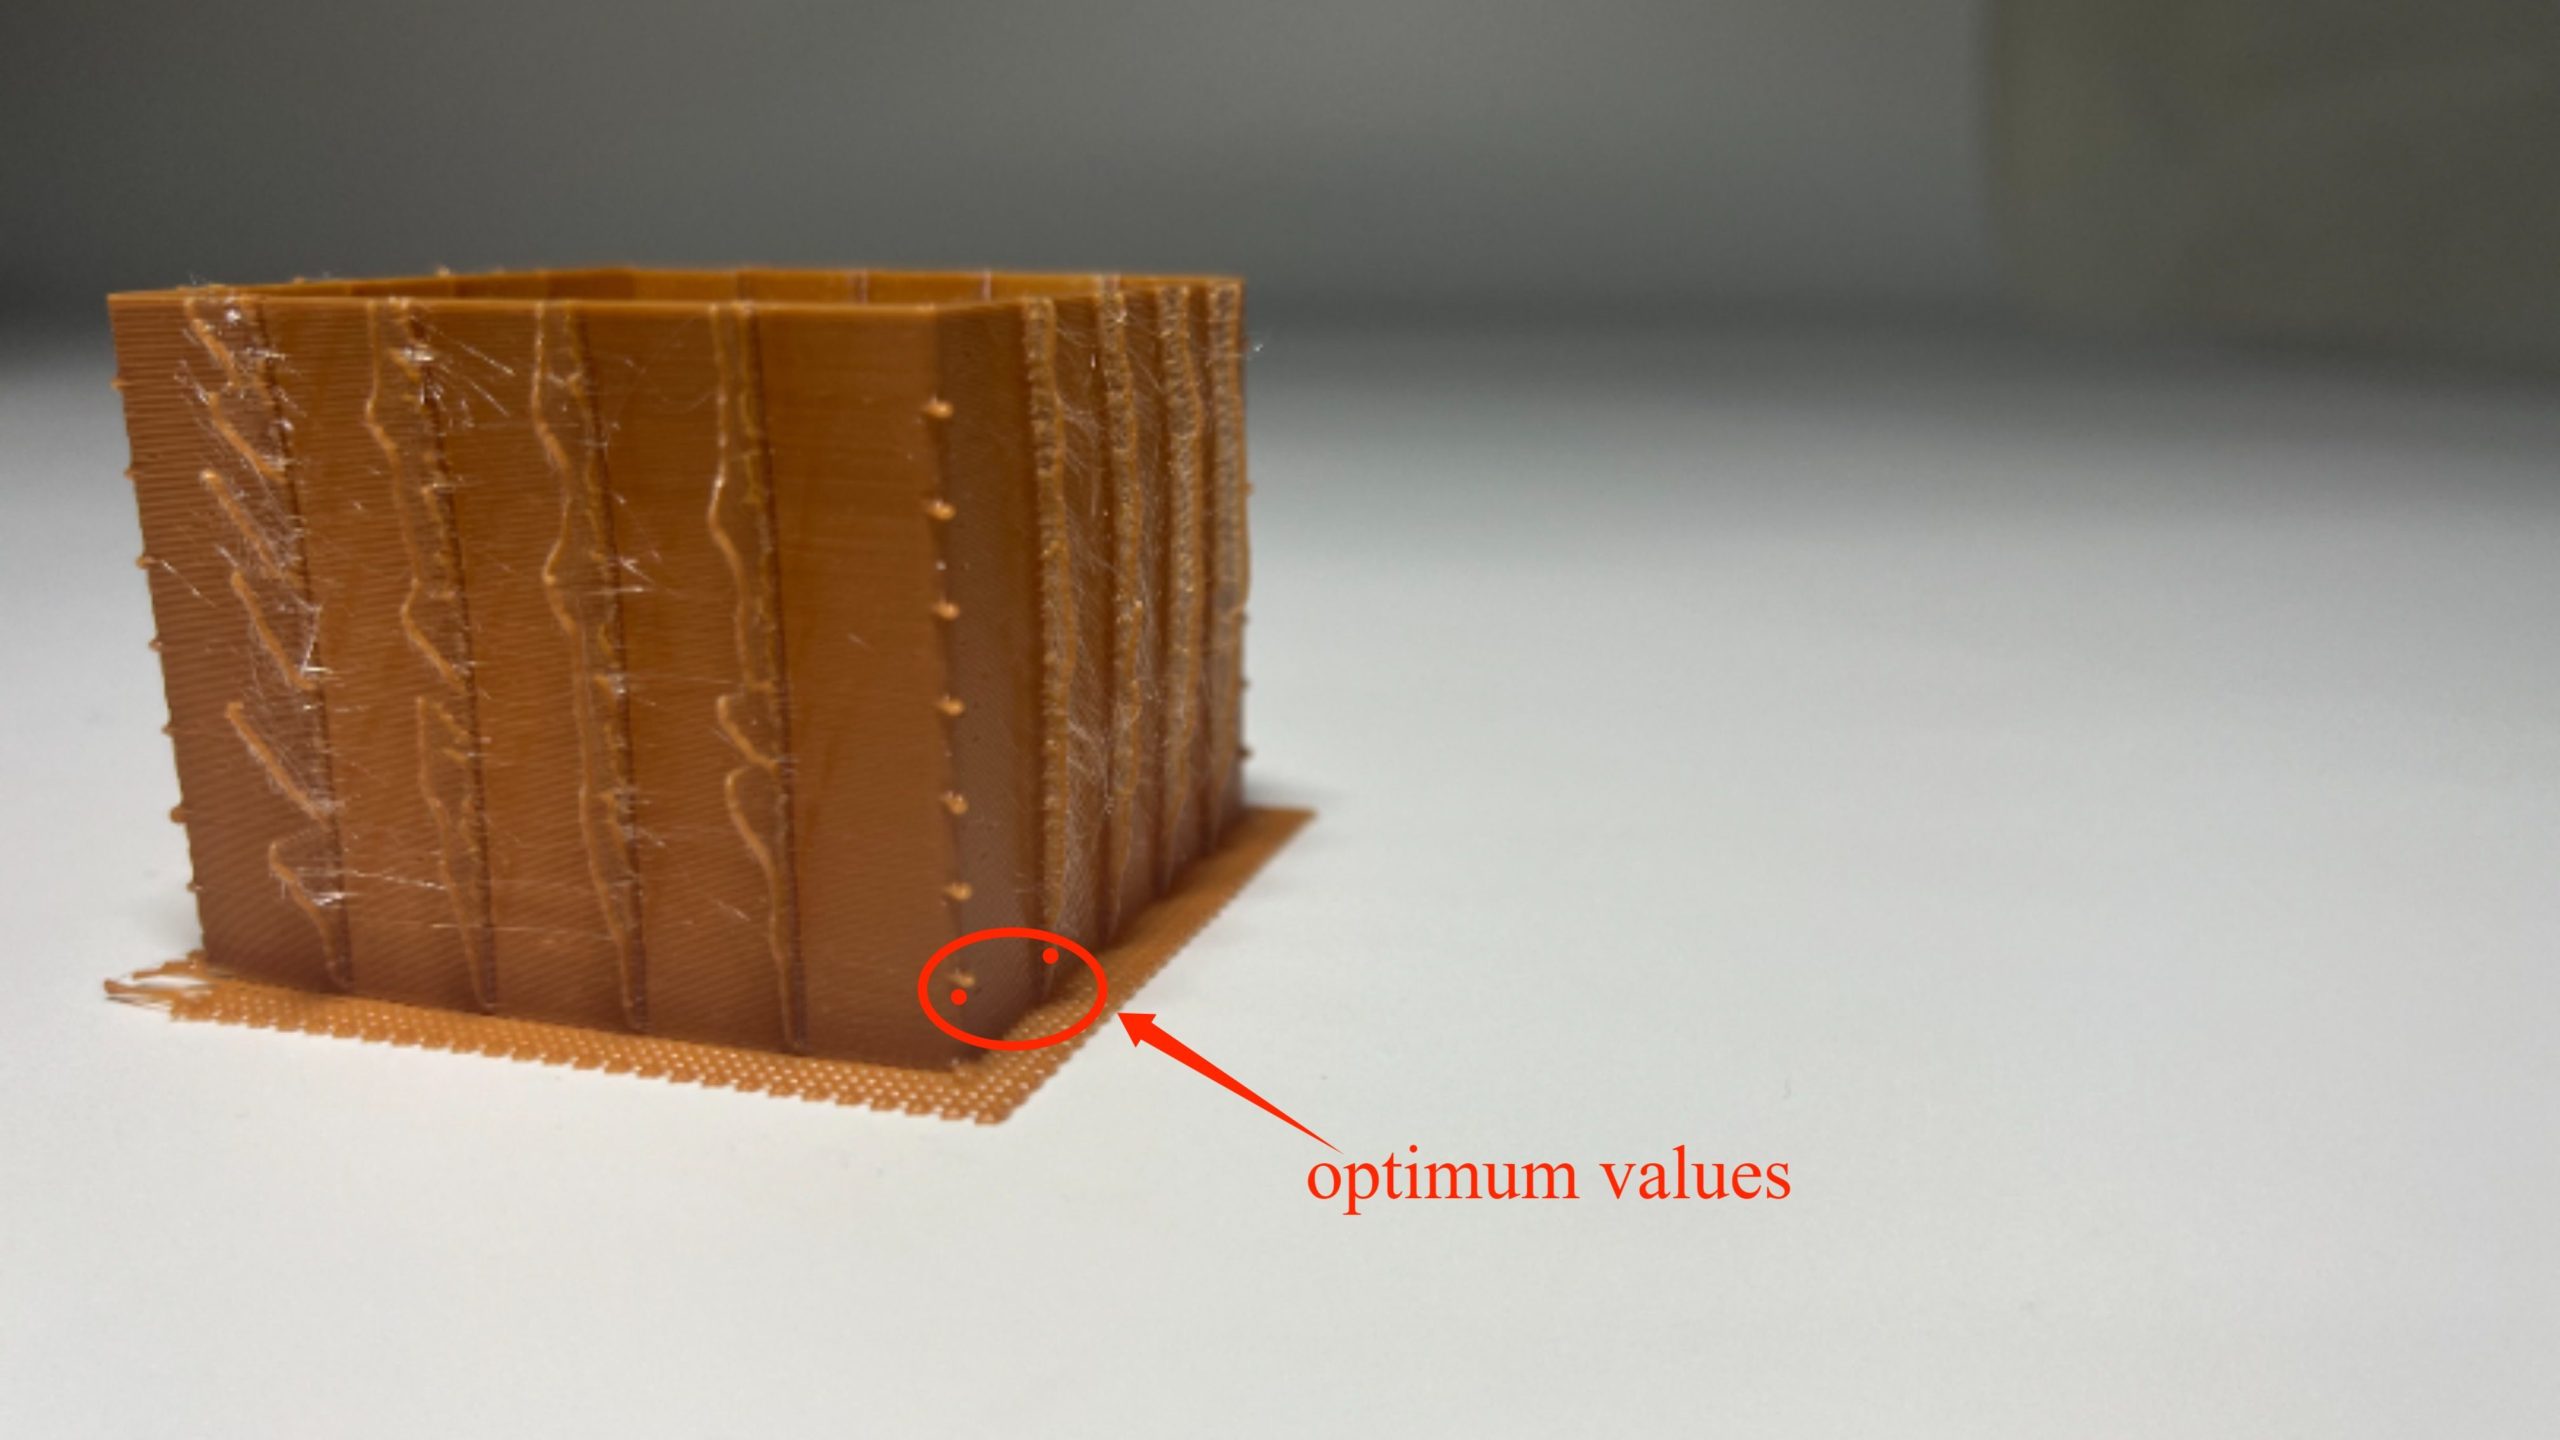
- Use a retraction tower: Next, you can try a specific retraction tower model to help you adjust the distance at a fixed speed, As the printer goes layer by layer, you will then need to observe the distances that produces the least amount of stringing.
- Fine-tune the speed: Now you know the retraction distance, you can lock that in and then work on the speed. Print another retraction tower to see what speed works best.
- Record the perfect values: Don’t forget to write down your best values for future prints. They can also help you when changing to another brand or even trying PLA retraction settings instead of ABS.
Conclusion
As we have seen, the ideal settings of retractions are very dependent on the 3D printer used, the type of extruder, filament material, and more specific parameters such as speed and distance. Although the tables above offer a very good starting point, the actual “sweet spot” for your particular machine is obtained through committed testing with retraction towers. By taking ownership of retraction, you can save yourself a great deal of time and filament, not to mention a countless number of headaches, and unlock your 3D printer’s full potential.