Having problems dialing in the best results for your 3D printer filament? Want to make your 3D objects look more or less shiny? Seeing problems with the texture after your print is finished? All of this and more can be tweaked by adjusting the temperature in your print settings before starting a new model. And one of the best ways of doing this is by using a temperature tower to figure out how your settings should be set. Let’s look at this in more detail. Enjoy!
What Is A Temperature Tower?
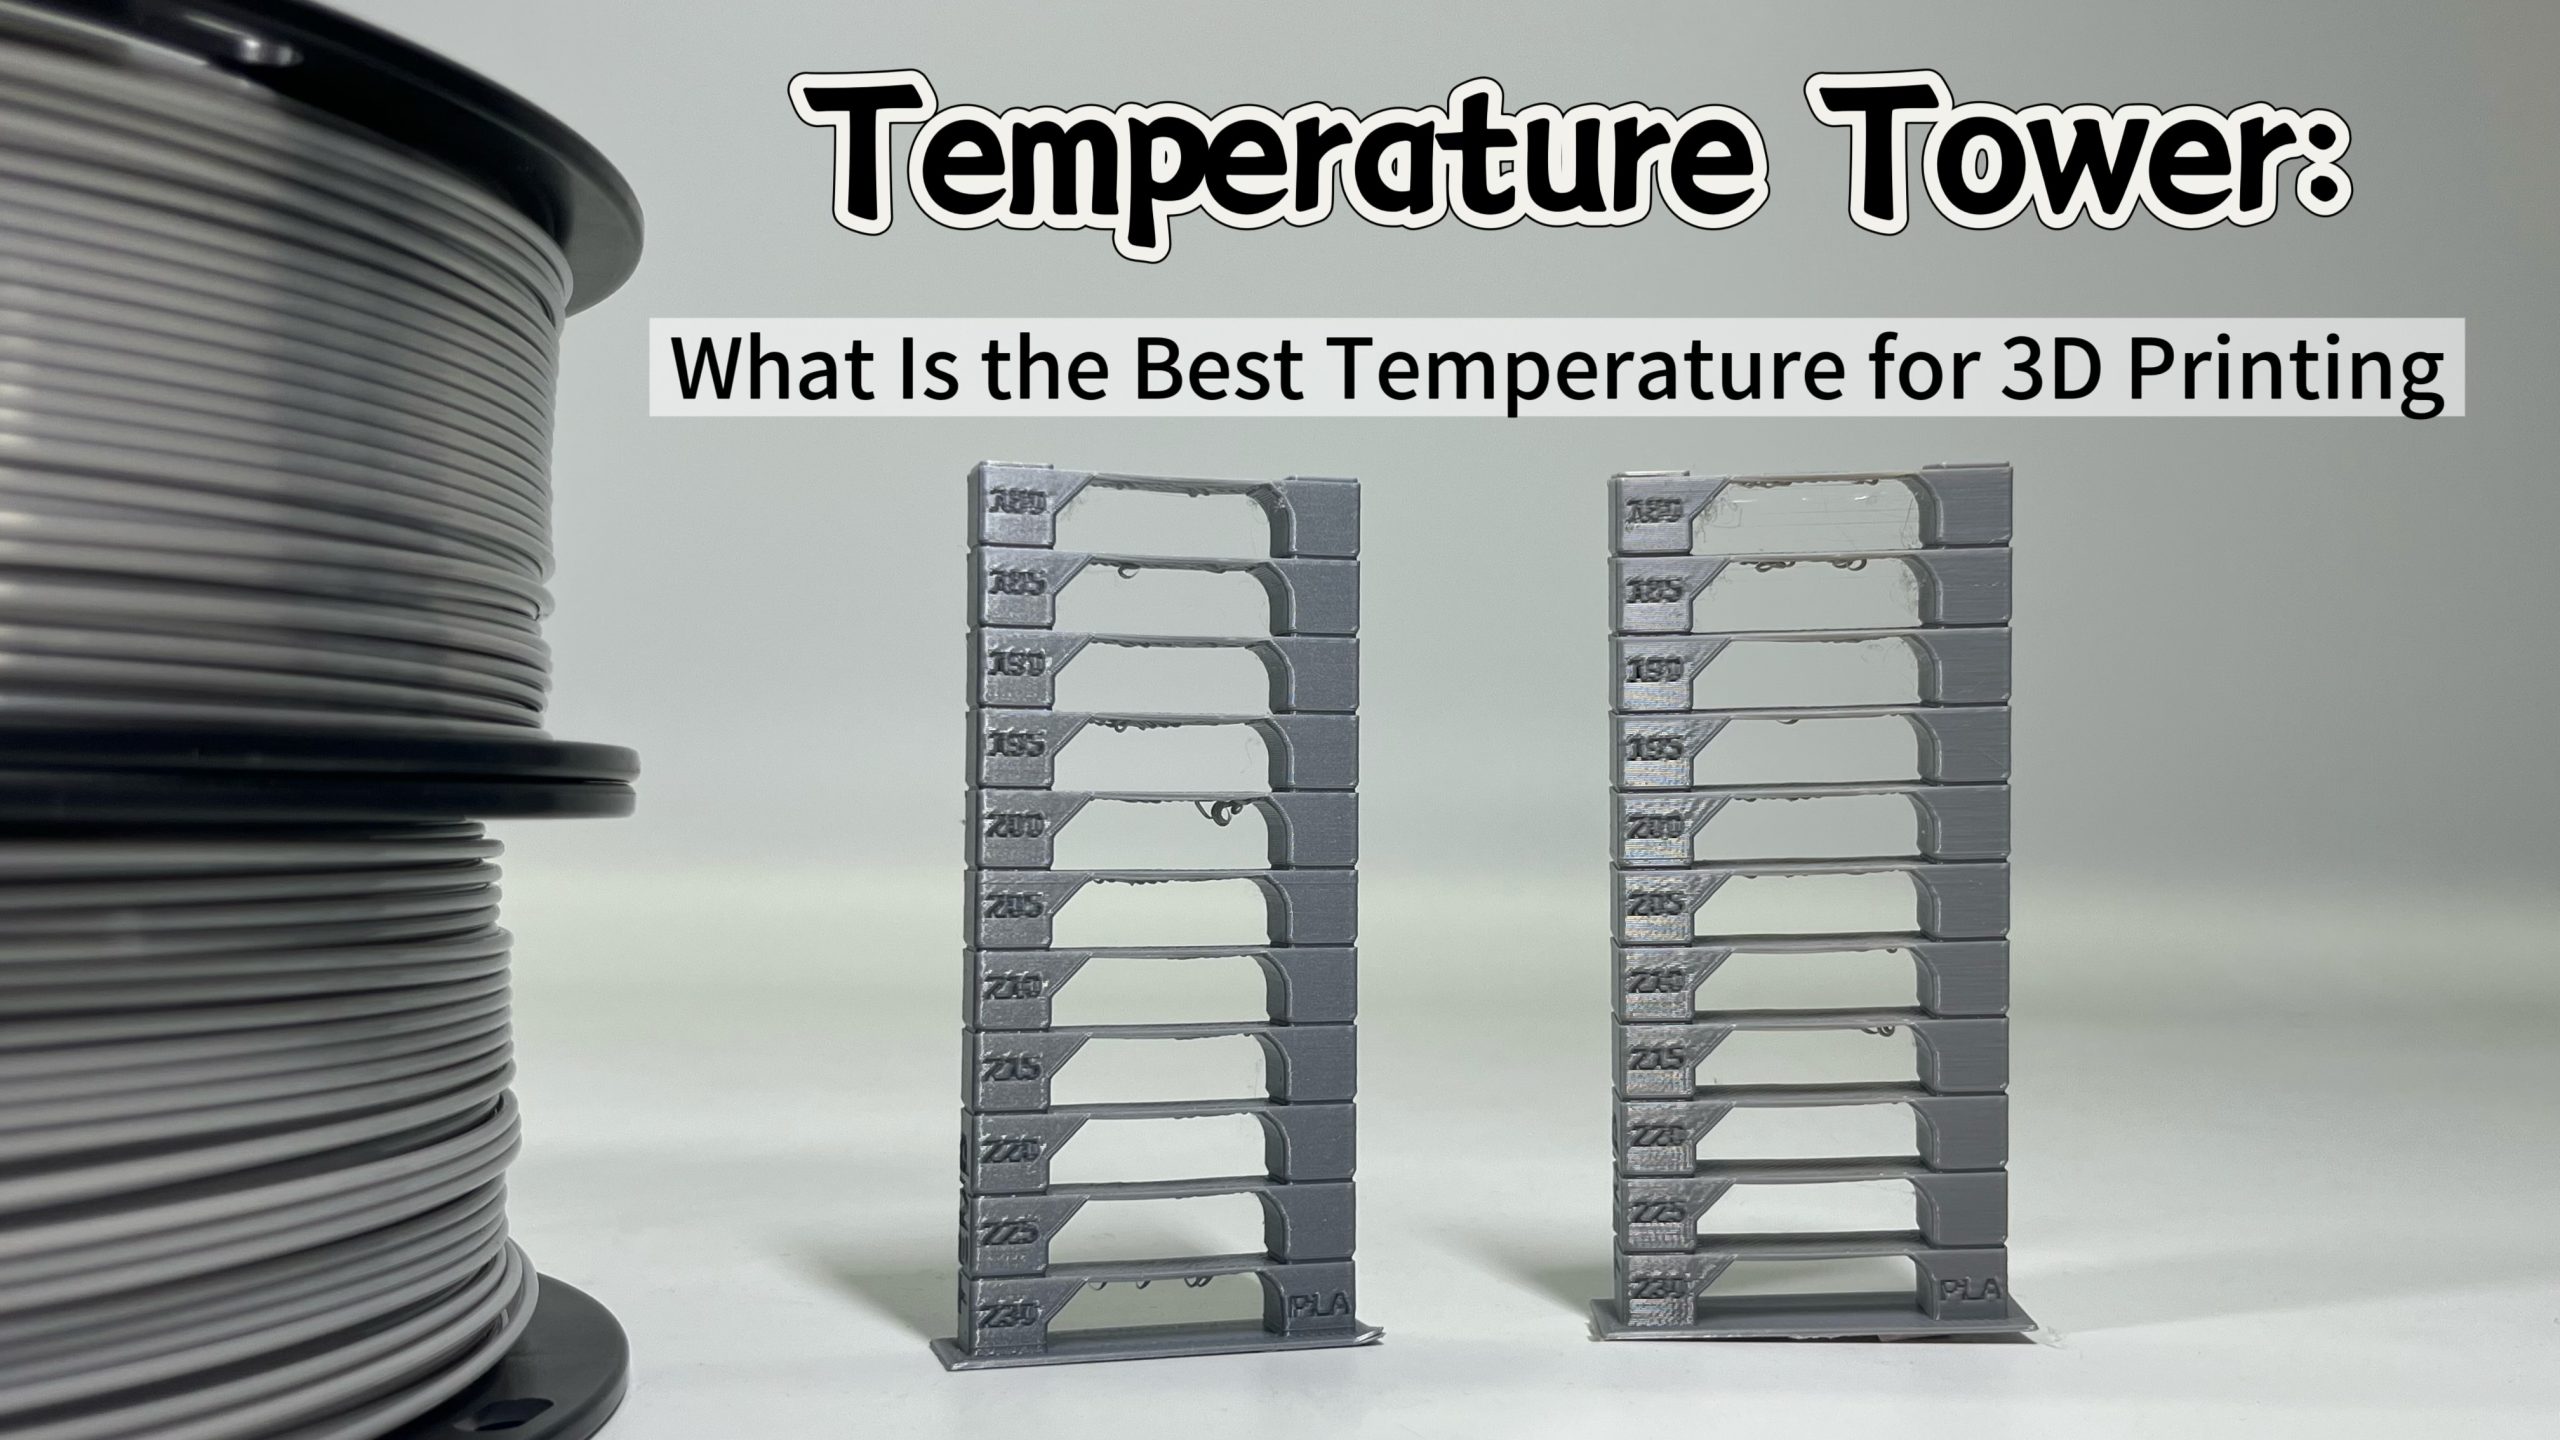
A temperature tower, also called a 3D print temperature tower, temp tower, heat tower, 3D printer temp tower, or 3D printing temp tower, is one of the most common test prints used to determine the optimal printing temperature for a specific material. Basically, the tower allows users to evaluate how different temperatures affect print quality in a single model.
Definition and Working Principle of Temperature Tower
The temperature tower is a univariate control experiment. Under the premise of maintaining consistency in the model, speed, and cooling, only the nozzle temperature is changed, and the optimal range is determined through comparison of molding quality.
By using G-code to automatically change the 3D printer nozzle temperature at preset layer height nodes during the printing process, multiple temperature ranges can be created on a single print. And by comparing the print quality within these ranges, the optimal printing temperature range for the material under the current equipment environment can be quickly and intuitively determined.
How to Print A Temperature Tower?
Printing a 3D print temperature tower is a simple but precise 3D print test that helps you optimize your 3D printing setup and identify what temp to make PLA shiny or improve strength for other materials.
1. Download A Temperature Tower STL
Download a model that includes digital scales, bridges, and overhangs. This design can simultaneously test surface quality, layer adhesion, stringing, and bridging performance.
Search for temperature tower stl or temp tower stl files on platforms such as:
- Printables
- Thingiverse
- MakerWorld
Once you’ve picked one of the websites above, you can then choose a model that clearly labels temperature sections and fits your goals. Many of the designs will have a description from the creator, stating the best type of filament or other important details, helping you pick out the best option.
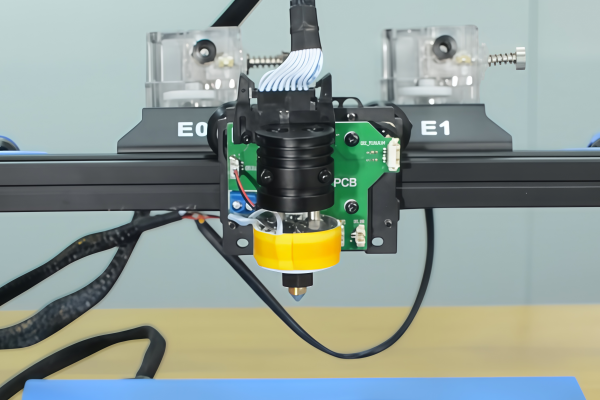
2. Prepare 3D Printer and Filament
Ensure that your printer has done the necessary preparation, which includes bed leveling, 3D printer bed adhesion, along with the initial calibration. This is also an important time to get familiar with the Filament or 3D printer Filament that you are going to use, and also ensure that the 3D printer nozzle temperature range for the 3D printer Filament is suitable. Also, ensure that the 3D printer Filament is dry before use, or else results may be misleading.
3. Confirm the Temperature Range
You do not need to start from 0°C and go all the way up to 300°C. Generally speaking, the filament types have certain recommended starting ranges as found below. If your filament is not on this list, look at the packaging or instructions to figure out the rough ranges:
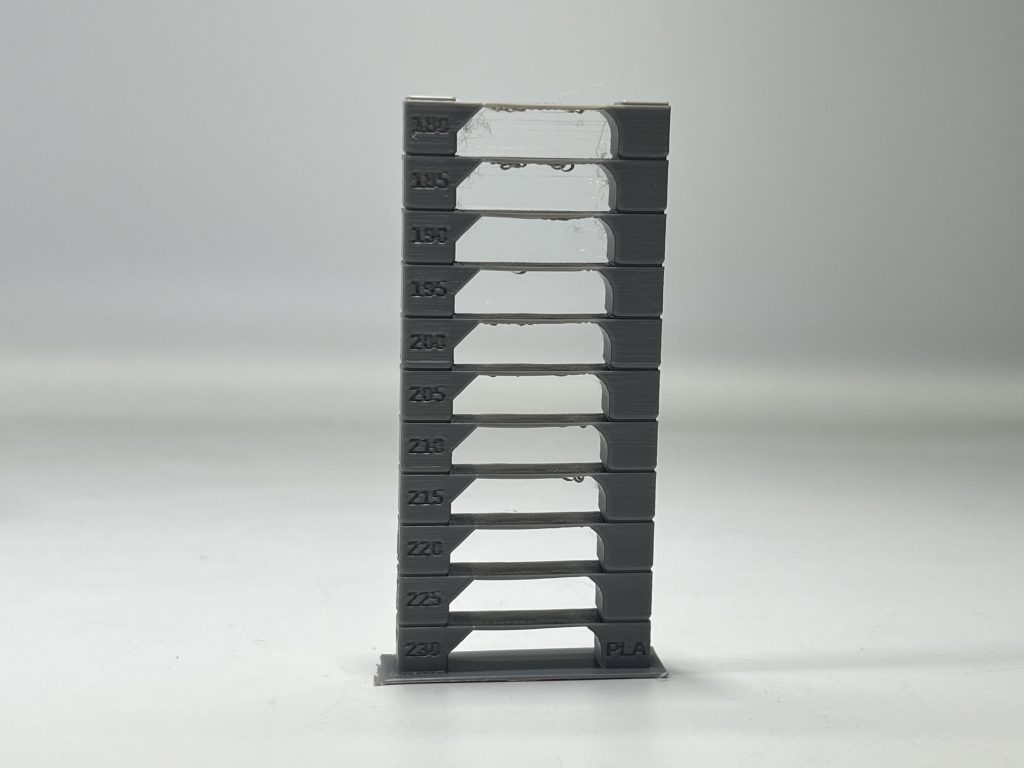
- PLA: 180–220°C
- PETG: 220–250°C
- ABS: 230–260°C
- ASA: 245–265°C
- TPU: 210–240°C
Each section of the 3D printing temperature tower should vary by 5°C or 10°C for the best results, as you can clearly see the difference with each temperature range.
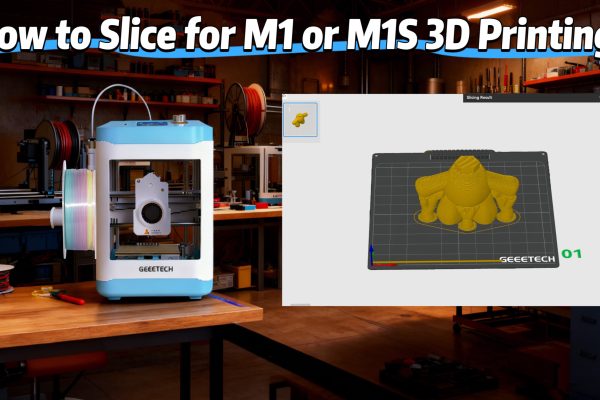
4. Set the Parameters in the Slicer Software
Except for temperature, all other parameters should remain as constant as possible during the 3D printing temp tower process to remove any variables:
- The layer height should be fixed (such as 0.2 mm)
- The printing speed should be fixed
- Retraction and cooling should remain at default settings
- Do not pause or change parameters during printing
- Only the 3D printer nozzle temperature should change at preset layer heights
How to Read a Temperature Tower?
After printing your temp tower, carefully analyze the results to determine what is the best temperature for 3D printing with your current setup. The goal is to compare test prints across temperature sections and identify the best balance between strength, surface finish, and dimensional accuracy. By looking at the different layers, you can easily figure out which temperature produces the best results that you are looking for.
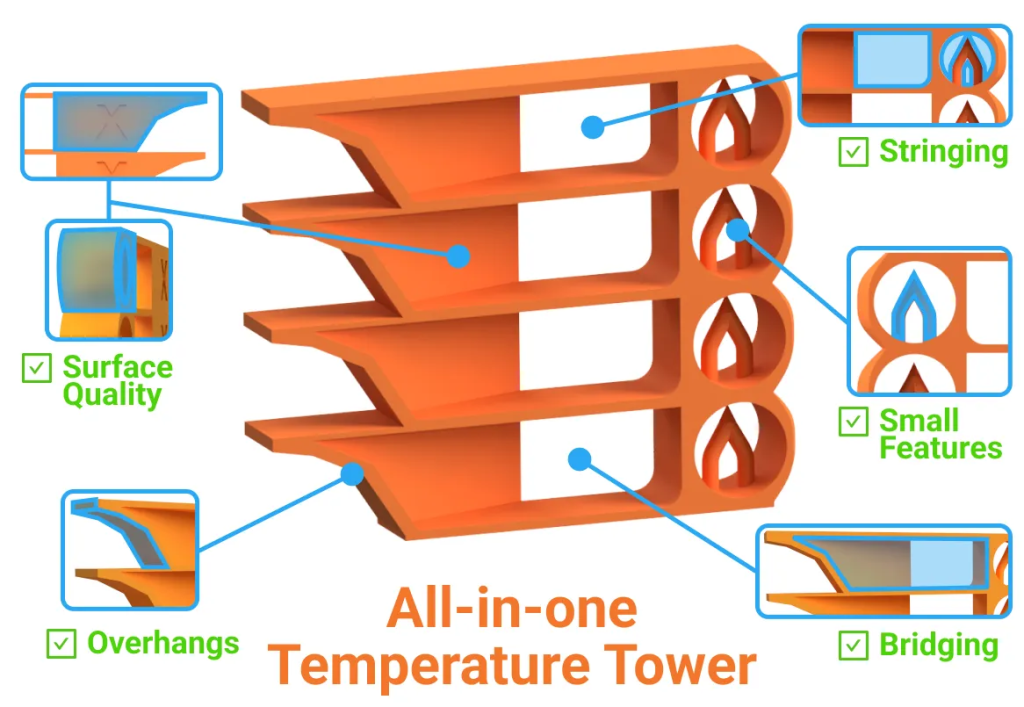
Stringing and Oozing
In order to avoid strings or oozes of melted filament, there are a few tips you can use when inspecting your temperature tower. Start by looking between thin pillars, inside arches, or on spike tips.
- Lots of strings like spiderwebs between features → Too hot
- Clean tips and gaps with few to no strings → Good
- Minimal stringing, but possible poor bonding → Too cold
By referencing the three different outcomes above, you can dial in your temperature to fit the perfect settings for your 3D printer temp tower results.
Layer Adhesion and Strength
Another important thing is to check the adhesion and strength of the layers on the tower. Gently try to separate layers or twist parts with your fingers. Be careful not to damage the entire heat tower.
- Breaks cleanly along layer lines → Too cold
- Bends slightly before breaking → Good adhesion
- Deforms easily → Possibly too hot
Again, depending on your experience with the layers, you can figure out whether the temperature was too cold, too hot or perfectly calibrated by looking at the options above.
Bridging Performance
Look at horizontal bridges connecting tower sections. This is especially important for 3D prints with gaps between major portions, as bridges in this case will not only be an aesthetic part but also help the overall strength of your model.
- Bridges sag dramatically or droop → Too hot
- Bridges stay straight and flat with minimal droop → Good
- Bridges look rough or fail to connect → Too cold
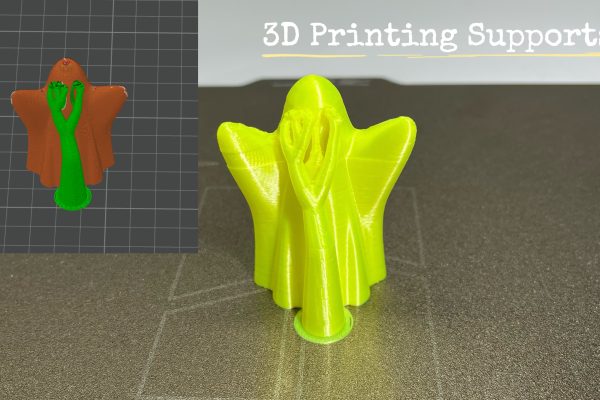
Overhang Performance
Similar to the bridge performance, it can also be critical to check for how your model responds to overhang features on your design. Once again, the temperature can have a big impact here. So look at angled surfaces, which generally happen at 45° or more, on the sides of the 3D print temperature tower.
- Overhangs curl, sag, or look messy → Too hot
- Clean overhangs that maintain their angle → Good
- May look acceptable but feel brittle → Too cold
Sharpness & Dimensional Accuracy
Another place where the temperature can impact your test prints is corners, holes, or sharp features. Here you might see different outcomes than what you actually prefer, so use the list below to adjust your temperature according to your personal wishes, or simply set the temperature to our recommended levels.
- Corners look rounded, bulging, or melted → Too hot
- Crisp, sharp corners that match the model → Good
- Corners slightly undersized or less defined → Too cold
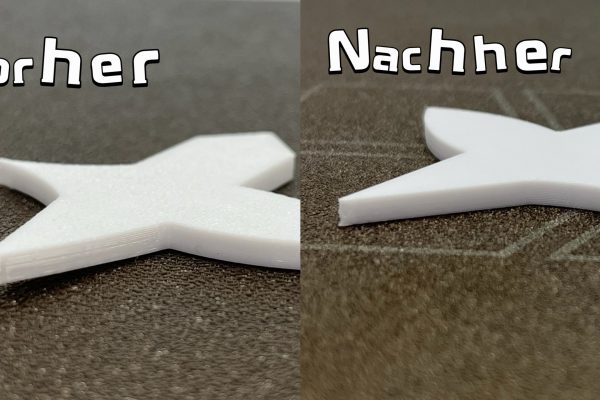
Surface Quality and Detail
Finally, you can also change the actual surface quality and detail level of your prints by adjusting the printing temperature. While the above reference list is a good starting point, sometimes you might want a more glossy and melted look for aesthetic reasons, so you can just use the list below as a recommendation, not a necessary calibration point.
- Glossy, melted look → Often too hot
- Dull, powdery texture → Too cold
- Even, consistent layers → Ideal range
Common Mistakes of 3D Print Temperature Tower
When performing a 3D print test to determine what is the best temperature for 3D printing, avoid the following mistakes.
Not Controlling Other Variables
Changing print speed, cooling fan speed, or other settings between temperature sections.
You will not know whether improvements come from temperature changes or other adjustments in your 3D printing setup.
Using Wet Filament
Wet 3D printer filament causes stringing, poor layer adhesion, and surface bubbles regardless of temperature. You will get misleading results from your 3D printing temp tower. It also produces unreliable results, as the humidity can change over time in your filament, making different textures and qualities every time you print.
Dry the filament before testing is necessary. Here is a guide on how to dry 3D printer filament.
Incorrect Script or Slicer Setup
An incorrect script or slicer setup can ruin a temperature tower test. If you forget to add temperature change scripts, set incorrect layer heights for the changes, or use the wrong G-code command, the printer may run the entire model at a single temperature. This means your 3D print temperature tower won’t actually test different temperature ranges, invalidating the entire 3D print test.
One-and-Done Mentality
Printing one temperature tower and using those settings forever is not recommended.
Different brands, colors, and even batches of filament can have different optimal 3D printer nozzle temperature ranges. Therefore, you should always test each new spool, especially:
- Different brands
- Different colors (especially silk, glow, or carbon-filled)
- Different material types (PLA vs. PLA+)
Conclusion
The easiest way to determine an accurate temperature setting for your printer setup is by printing a temperature tower. Printing a temperature tower isolates and only changes the nozzle temperature so that you can see which of the above three temperatures provides the best print quality with your filament and machine combination. By printing a temperature tower for each new material, you will get better surface quality, better adhesion between layers, cleaner bridges, and more dimensionally accurate prints.