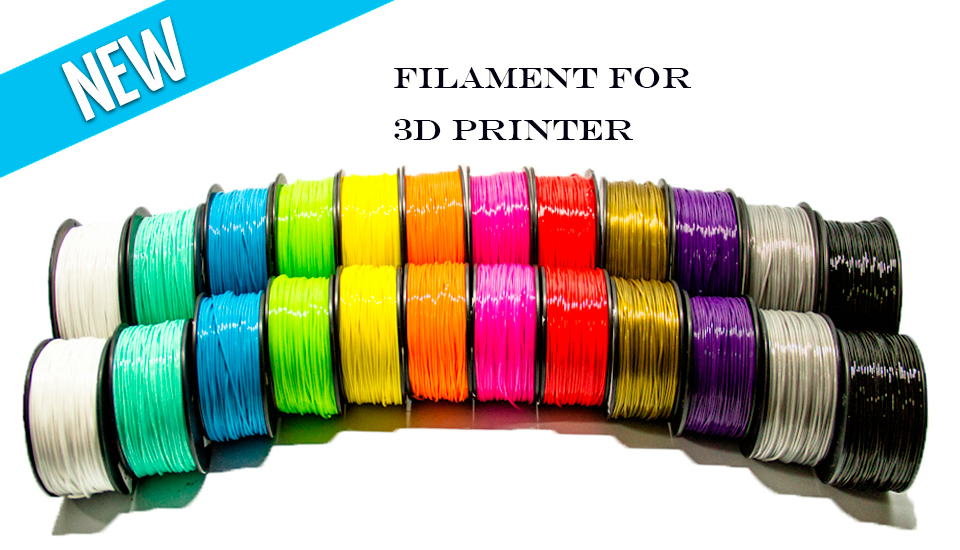
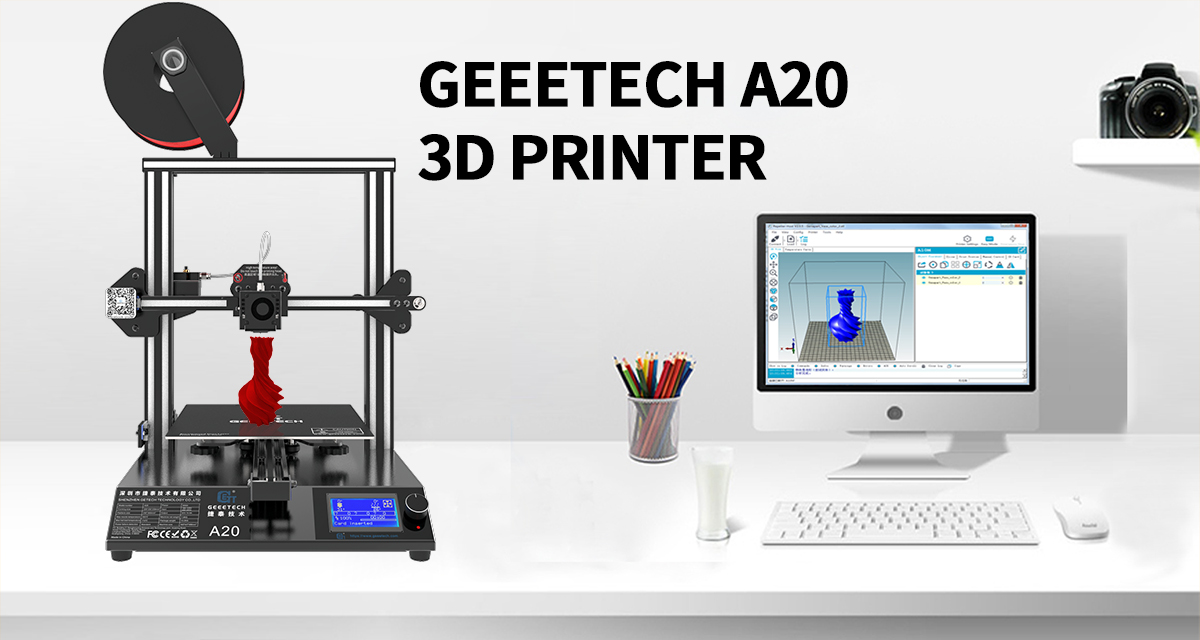
How to Connect 1. Plug the USB into your Prusa I3 and the other end into your computer. Do not be alarmed if the standard messages do not appear. Because of the Prusa I3’s drivers, it may show up as a generic USB device. 2. Power on the Prusa I3. You can see the LED lights and fan come to life! You may be able to hear the motors idling. 3. Open Repetier Host and ensure that you have a valid port selected for communications. To do this simply, click “Printer Settings” in the upper right-hand corner to bring up the printer settings menu. 4, Select GEEEtech PI3A in “Printer” 5. Select the corresponding COM port, and click OK to continue. If you can not find the COM port, click “refresh ports” and see if it appears. (It is usually the last one; you can check the device manager to see which port it is). PS: if you still cannot find the port, please reinstall your USB driver. 6. Hit “connect” in the upper left-hand corner, select GEEEtech PI3A. You should see the details of the connection in the console window in the bottom section of the screen. If it turns green, it is connected. 7. On the right panel, click the “Manual Control” tab. Scroll down and click both the heat extruder and heat print bed buttons to activate your heaters. You will know they are on if they turn a bright blue. The heat will gradually rise, as you will see from the status bar at the bottom of the window. The extruder should be set to 195° and the bed should be set to 95°. 8. At the same time, you can click the arrows on the above panel to move the motors to check if they work well. 9. Click “load” to load the STL. File you need to print. You can see now the model in the cubic box and on the right of the panel, you can see the loading bar. 10. After loading, choose “slicer” > “configure” to set the printing configurations. You may need to wait for a minute. 11. First, you need to set the layers and perimeters. As you can see in the following picture, all you need to set is the layer height and the first layer height. Leave the rest as default. (For each setting, you can get a prompt to refer) 12. Set the printing infill density and pattern. Refer to the prompt. 13. Set the printing speed. Again, refer to the prompt. 14. Filament setting. You just need to fill in the correct filament diameter. 15. After setting, do not forget to save the settings and name each setting. 16. Select the settings you save on the right panel. Then click the “Slice with slice3r” to generate G-code. You may have to wait for a while. 17 Click the slicer button and slice with Slic3r. You can see the small window on the screen, the duration for the generation of G-code depends on the size of your file. It may take 1-2 minutes. After that, you can see the code in the G-code editor. Two parameters deserve your attention. One is the bed temperature, another is the extruder temperature. *Here is a temp reference. Filament Type Bed temp Extruder temp PLA 50-100…
