The concept of slicing 3D models can be a bit confusing for newcomers to the wonderful hobby of 3D printing. But it is actually quite simple, so don’t worry. In this article, we will explain all you need to know, so that you can slice your 3D models correctly every time. Enjoy!
What Is Slicing?
Whenever you have a 3D design that you want to print, you will need to prepare the digital format for your printer. Instead of just having the complete “block” of your model, it is necessary to slice the model into smaller segments, the individual horizontal layers that the printer will actually produce.
This formatting is called slicing, and is therefore an important part of any FDM 3D printing process, as well as many other types of 3D printers. Think of each layer as representing a cross-section of the model that the printer builds sequentially, and that the slicing is responsible for actually keeping track of the layers and their position.
In simple terms, the slicing is “translate” the 3D model into a series of instruction files that the printer can understand and execute layer by layer.
Why Is Slicing Important in 3D Printing?
Since you will need to convert your 3D design into simple instructions that your 3D printer can understand, slicing can be considered one of the most important parts of the entire process. You may have a beautiful 3D model you created yourself, or picked off the internet, but if it has no slicing data you can not print it.
The actual data that is produced during this procedure influences numerous important factors, including printing quality, accuracy, as well as the overall result of your finished 3D printed product. It does this by controlling the trajectory the printer moves, the quantity of the substance that is extruded, as well as the adhesion that each layer is joined together. A good 3D slicer and appropriate 3D printing programs assure the best settings for speed, quality, as well as the utilization of the building material.
The Processes of Slicing
While the underlying technology of slicing might seem complex, it is actually relatively simple to slice any model with the right software. Oftentimes you can even slice your 3D prints with just a few clicks, so it does not need to be overly complicated, although you will often get better results by changing some parameters based on the specific print, the material you want to use and your actual printer.
Step 1: Import Model
Before you can slice anything, you will first of all need your 3D model as a digital file. There are different formats for this, but common ones include .STL or .OBJ files. These are the most used filetypes that you will typically get when you download a file on any of the larger sites.
Next, you will also need your slicing software. There are many different options to choose from here, so we will cover this part in more detail below. Once you have loaded your 3D model file into the slicer, you can then configure various settings depending on the desired results.
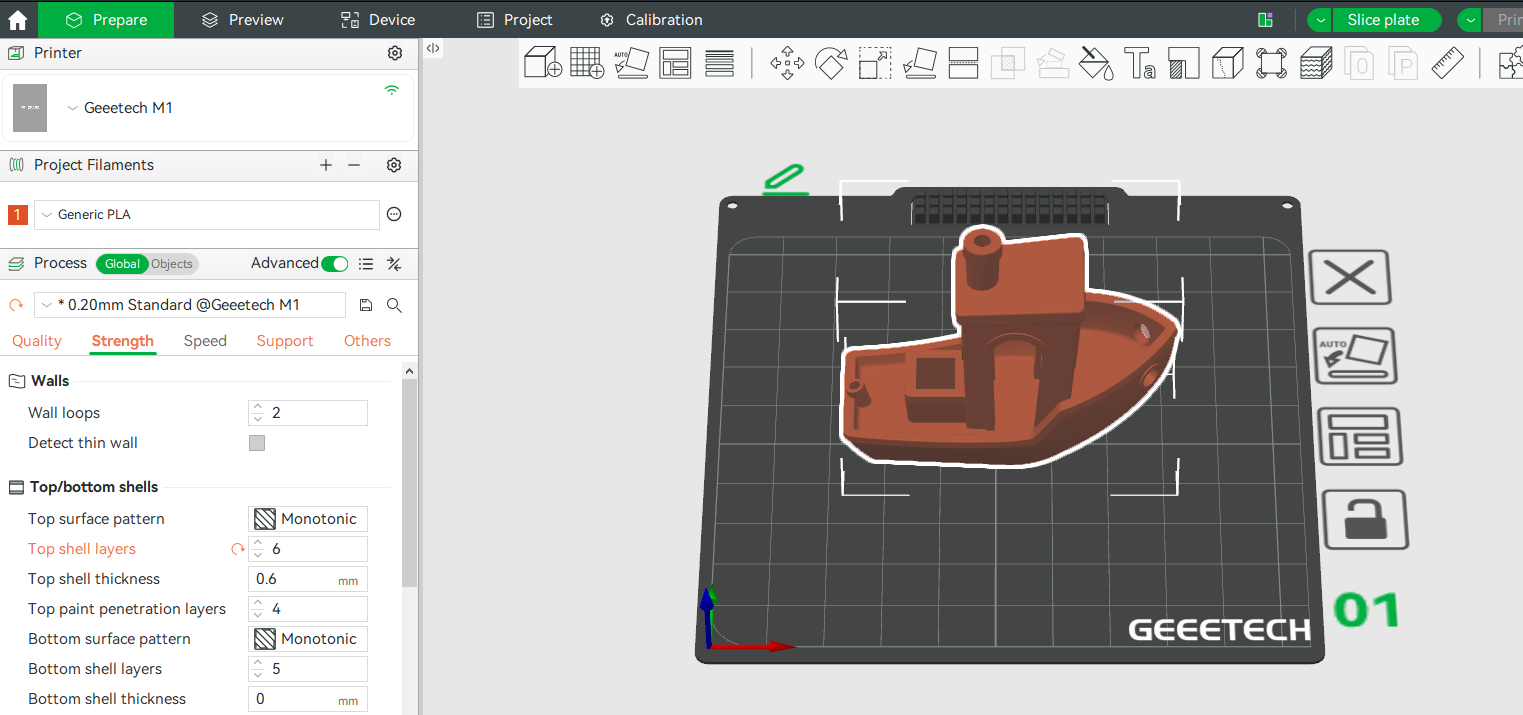
Step 2: Configure Settings
This is the most critical step. You’ll adjust a host of parameters based on your printer, filament, and desired print quality. If you download from another creator, they often include the important parameters you need to change, alongside the values they recommend.
- Layer height: The thickness of each printed layer. Smaller layers give smoother surfaces but take longer to print.
- Infill density and pattern: The internal structure of the part, which governs its strength and weight.
- Wall thickness: The thickness of the outer shell.
- Support structures: Automatically generated, removable scaffolds that prevent overhangs from collapsing during printing.
- Print temperature and speed.
The last of the most common parameters is the print temperature and speed. This is generally decided by the material used, so if you use TPU filament, ABS or some others 3D printer filament, you might change these settings in particular.
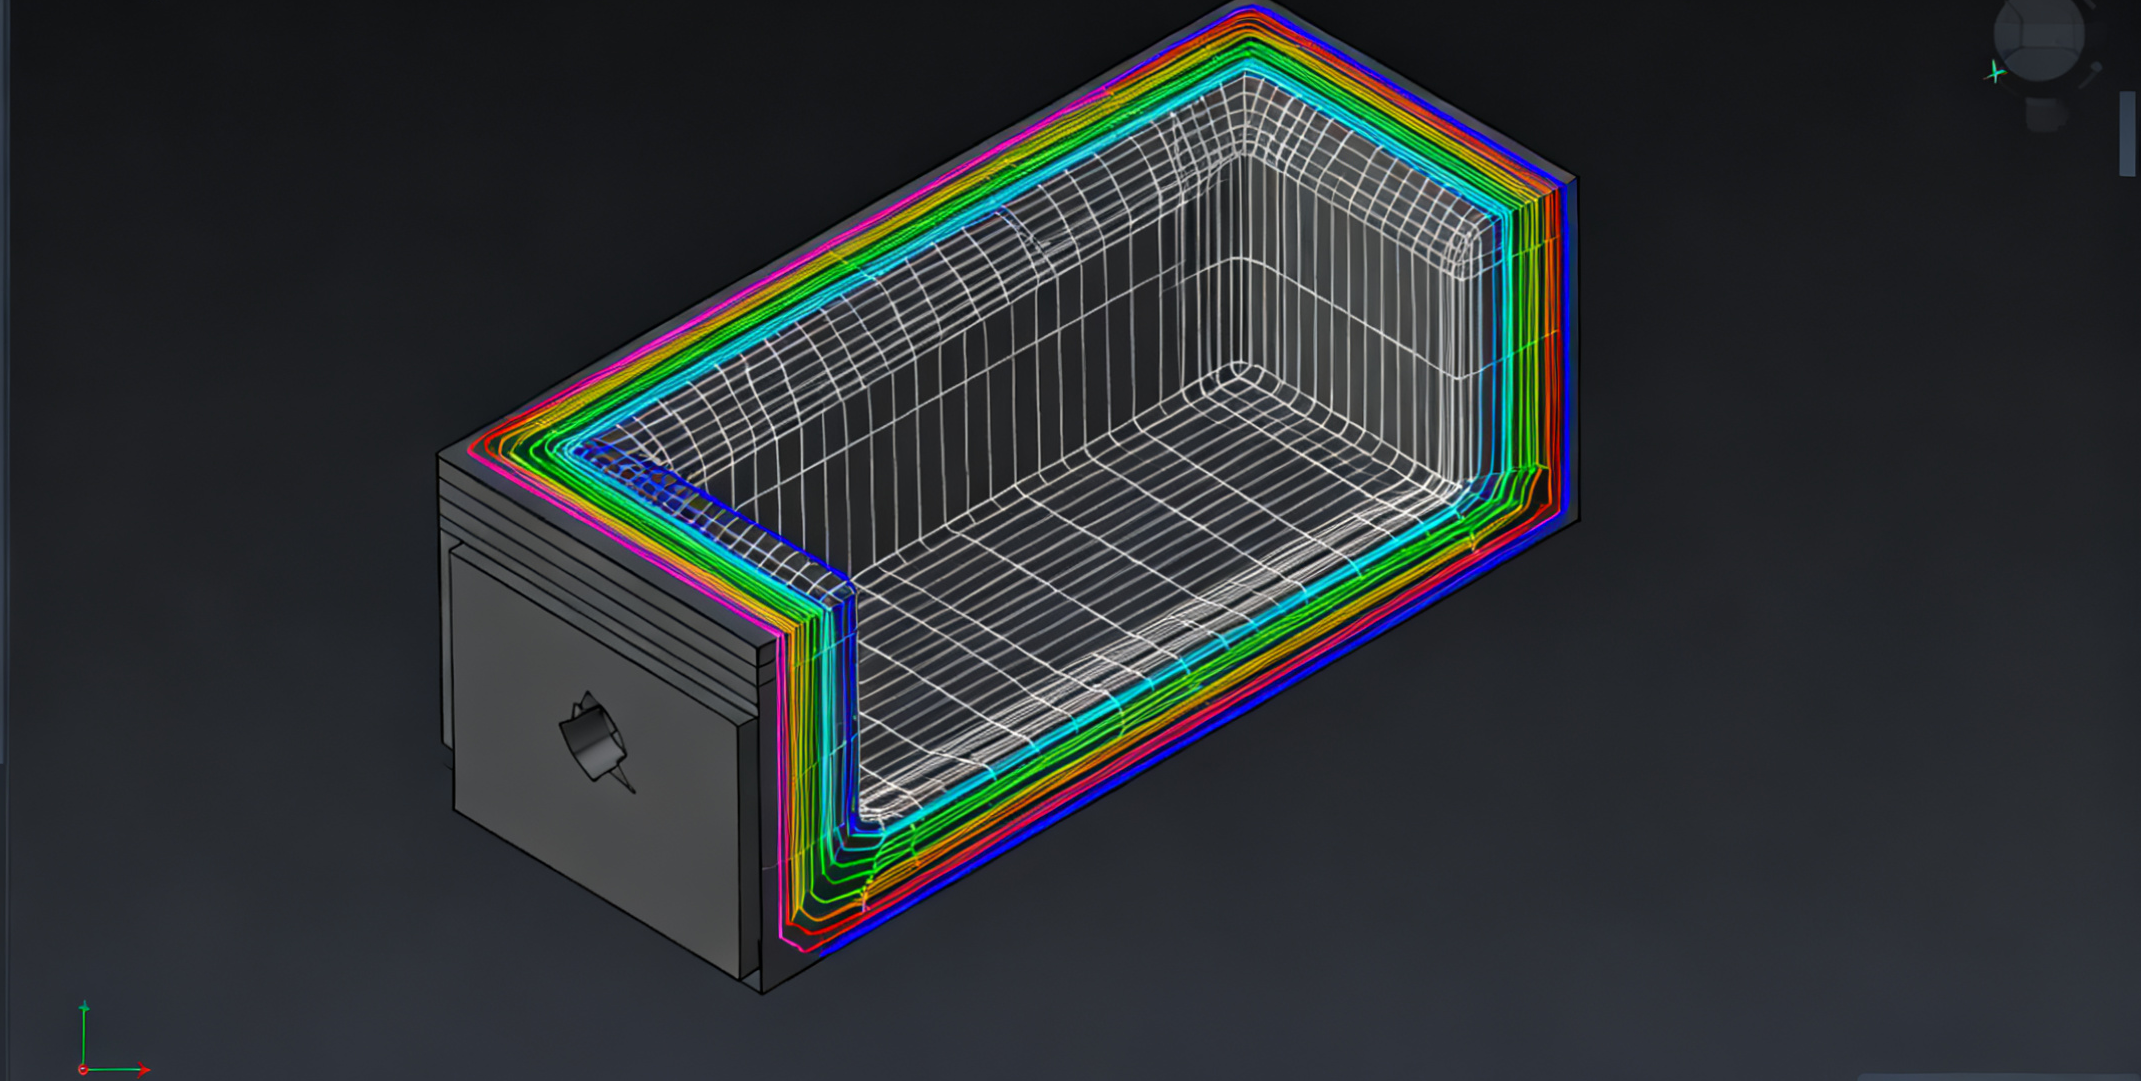
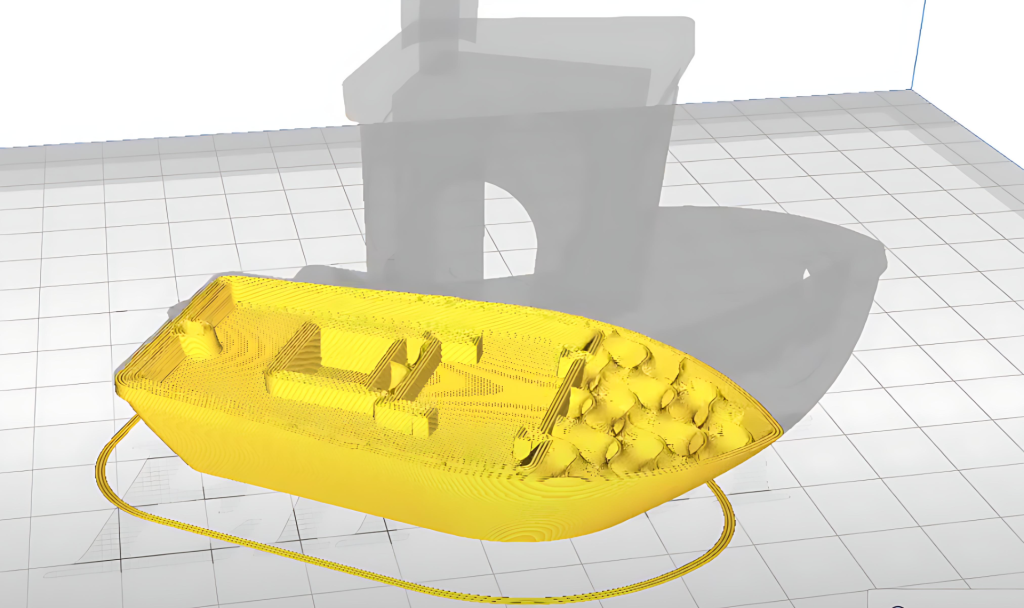
Step 3: Slice the Model
One you have set all your parameters as you want, you can then click “Slice model” in order to begin the automated process. Depending on the size of your model, how complex the shape is, and the various parameter values, this can take a few minutes on the shorter end or up to 20 minutes on slower devices with a large and complex model.
This is because it performs the “virtual slicing” on the model, along the Z-axis and generates precise printing paths for each layer that your 3D printer will then follow once it becomes time to actually print the model.
Step 4: Generate G-code
Most software applications will then save all these slices into a new file, known as G-code, which then not only stores all your virtual slice paths, but also saves information that the printer will use to know what temperature the hotbed should be, how much extrusion is needed and so on.
Step 5: Send to Printer
The last step before printing, is getting your G-code uploaded to your 3D printer. On your model and preference, you will usually be able to select doing this through a standard SD card, a direct USB, Bluetooth or through your WiFi or LAN networking. Once your 3D printer has received the G-code, you can then begin printing.
Introduction to Slicers
As we mentioned above, there are different types of 3D printing software that you can use to slice your model. In general, they all convert 3D models into G-code instructions for the printer, so it becomes a matter of preference which type of software you end up choosing.
Simplify3D, Ultimaker Cura, PrusaSlicer
Among the most popular used slicers, you would see names like Simplify3D, Ultimaker Cura, and PrusaSlicer. They are either branded applications that come packaged with your specific 3D printer, or massively used third-party applications created by enthusiasts. Many of these programs have free and paid options, and they typically support a wide range of printers and materials.
Geeetech
Looking back, the last 3D printing software we developed was Easy Print, and it’s still being used today.
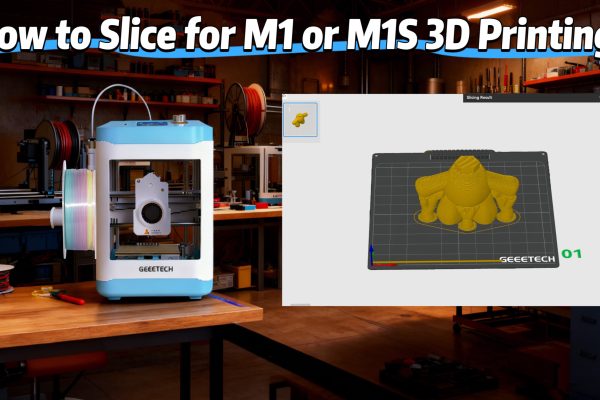
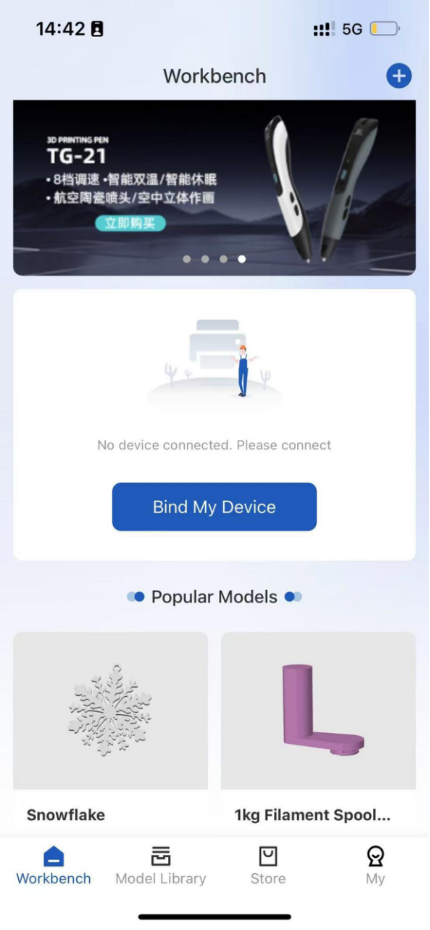
Now, one new and noteworthy 3D printing software is the one we have launched and named Geeetech, which comes with a set of interesting features for everyone wanting to print easily and quickly. Currently, we only open the connection to Geeetech M1S. And there is a slicing tutorial. The software comes with some models that can be printed directly. More functions and models will be opened up in the future, such as easily slicing.
It will continually get new functions and slicing features, and we look forward to it becoming one of the best slicers for 3D printing for Geeetech users and anyone else interested in great results.
Conclusion
To sum it up, slicing is an extremely important part of any 3D printing process. It is important that you therefore understand why you need to slice your models, but also learn how to tweak the parameter values to get the best results. This can be tricky with some applications, so we recommend you try different types of 3D printing software and 3D slicer tools, in order to see what gives you accurate and high-quality prints.
In particular, we hope you will explore the new Geeetech 3D printing software to experience reliable performance, an intuitive slicer app, and optimized printing results. Have fun printing!