Understanding when to use supports in 3D printing, what they do, and how they actually work can be a challenge for many beginning hobbyists. There are a number of different technical terms to learn, and then, of course, the impact on the overall result itself to consider. So this article aims to help you understand what you need to know, in order to use support structures correctly.
What Are 3D Printing Supports?
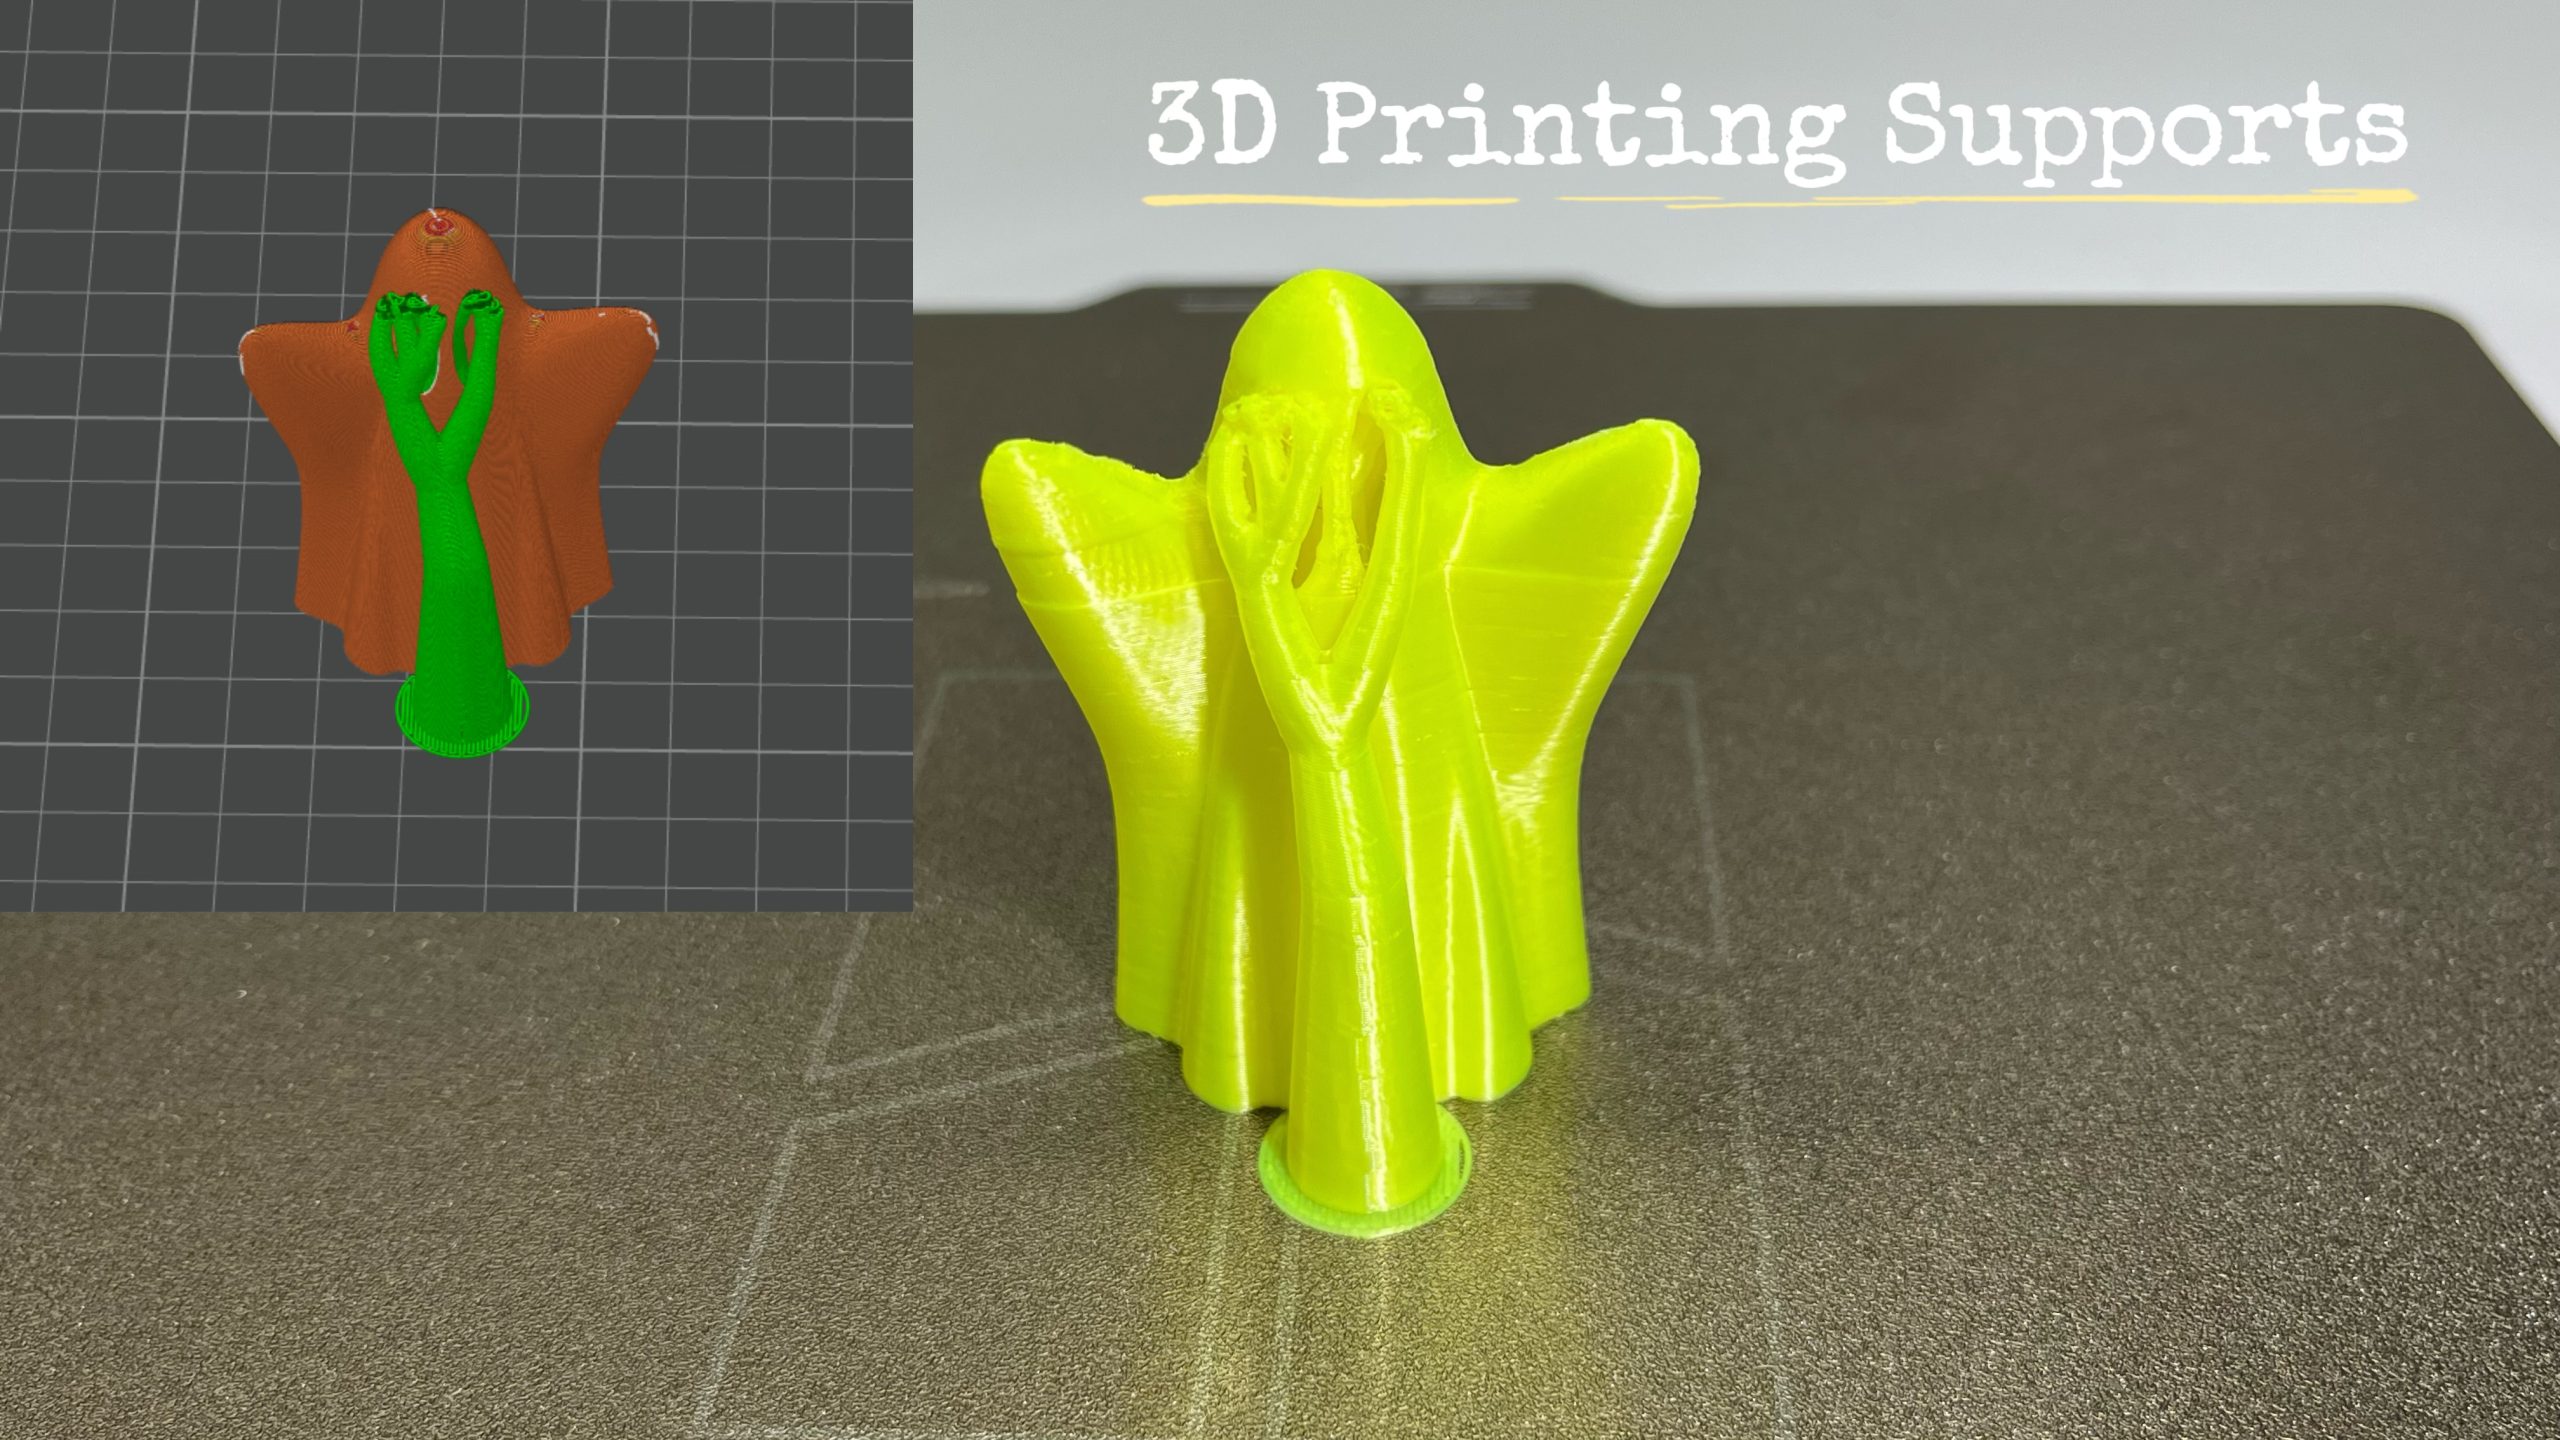
The basic idea behind 3D printing support types is, as the name suggests, to help support the 3D model. This can be an important step while the model is being printed, as some designs might not be at their maximum strength before they are finished, or they can have overhanging parts, bridges, or complex geometries that need to be kept in place during printing.
In general, 3D print supports are added to the main model itself via the 3D printing slicer, or sometimes baked into the actual 3D model itself, in such a way that it becomes possible to easily remove the supports once the print is complete. The supports can take many different shapes, but all are designed to keep the model from collapsing or creating unwanted results during printing.
Why and When Do We Need 3D Printing Supports?
Why and when supports are necessary will depend on a few different factors. Typically, any sort of overhangs, bridges, islands or deep holes in the 3D model can indicate a need for supports. Since the printer builds one layer at a time, certain geometric shapes are simply not solid or strong enough before more layers have been added, therefore needing the help of extra 3D printed support structures.
Overhangs typically need supports underneath, so there will be no drooping or falling parts during printing. Very short bridges generally can work without supports, but longer ones will need support to avoid them sagging or connecting in weird ways. Islands are shapes that are not connected at the bottom of the print, and often completely isolated from other parts, so they also need a structure to help keep them in place during printing. And finally, deep holes in models can also need support due to similar reasons as overhangs.
The Types of 3D Printing Supports
Now that we’ve discussed the types of problems with some 3D models, it is time to take a closer look at the actual support structures commonly used. Below we’ve included a few image examples to help visualize this.
Tree Supports
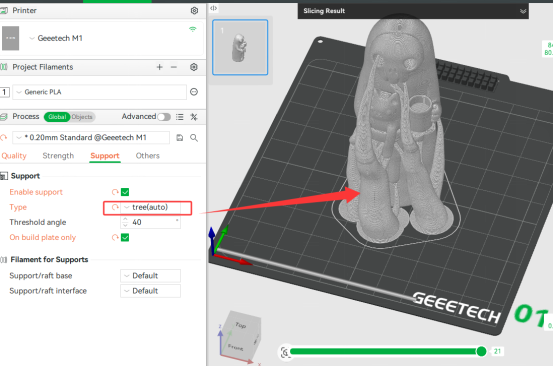
We start out with tree supports for 3D printing, as they are one of the most common types for many different models and shapes. They tend to branch out from the base of the printing bed, in order to then slightly connect with any overhangs or other problem areas, to support them in an effective way that also makes them easy to remove. Tree support 3D printing can be quite material efficient compared to some other supports, so that you don’t waste much filament this way.
Grid / Line Supports
Another form of 3D printing support structure is typically referred to as grid supports, although some people call them line supports, as they look like a grid when viewed in 2D. They are great for providing extra strength and stability to a number of different challenging shapes, but are especially used for large and flat shapes, as well as overhanging surfaces that could droop or warp without the support. However, they can be more difficult to remove and they can also use up more filament.
Soluble Supports (PVA, HIPS)
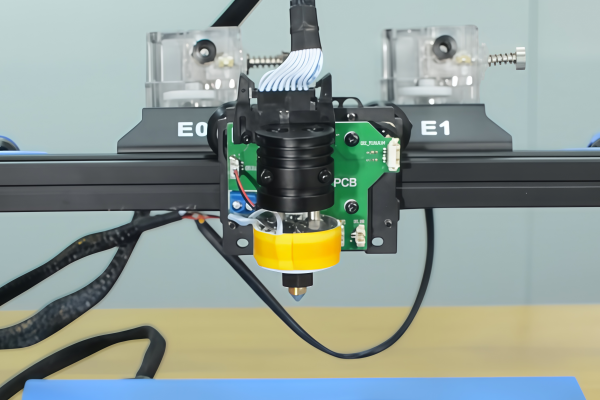
The last method we will discuss today is soluble supports, and as the name suggests, they make it possible to remove the unwanted material in a much cleaner way by dissolving their connection points. PVA is one such material used that can be dissolved with simple water, making it a great 3D filament to use for supports. HIPS is another commonly used material for this method, dissolved with limonene. The downside is that you will need a dual-extrusion printer to use this method, as you need the normal filament in one extruder and the soluble filament in the other.
How to Set 3D Printing Supports
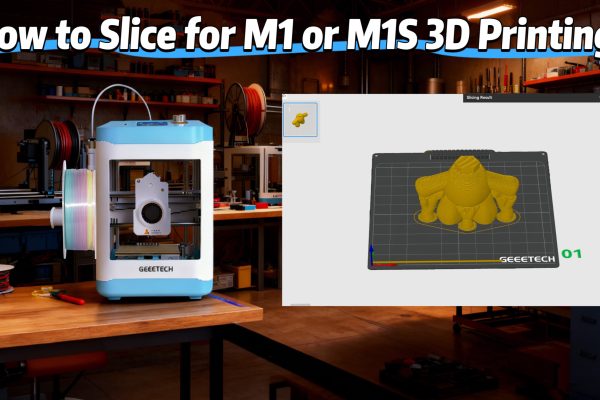
Now that you know a little more about what supports are, and when they are used, it is time to look at how you can implement them. Below, we have described some 3D print support settings you can try out for reference, but remember that they can vary depending on the slicing software and materials, so use them flexibly as needed. We used Bambu Studio and Geeetech PLA filament as our reference point.
Support Placement
We recommend that you choose the option to print supports “On build plate only”, as it will help prevent the support from falling off or becoming unstable. Adjustments may be needed depending on the model however, so keep an eye out at the start of printing.
Support Density
Choosing the density of support structures is an act of balance. The denser the support is, the stronger and more stable it will be. However, it will also be more difficult to remove from your 3D printed designs, and also use up more filament. We recommend starting with around 30% as that is the default. 20% can also work in many cases, so this is the area to adjust from.
Support Z Distance
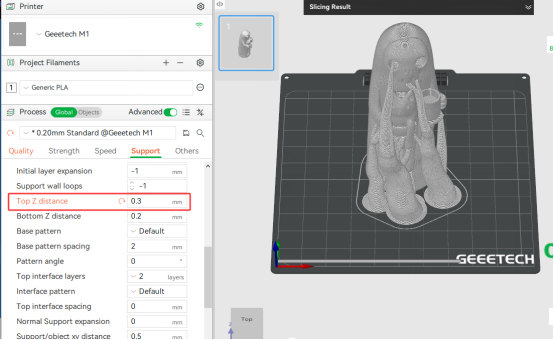
Choosing the Top Z distance is another factor that plays into your overall support structure, as a larger Z distance makes supports easier to remove but leaves a rougher surface. Start with the default distance and fine-tune for your model.
Support Top Distance
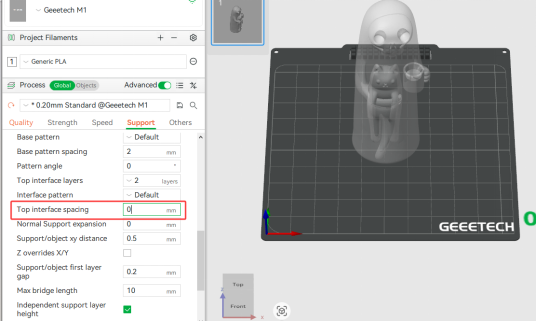
Smaller top interface spacing improves surface quality but makes removal harder. We recommend that you use 0 mm for large interfaces, and then try 0.5 mm for smaller interfaces. Again, this might need some adjustment to get perfect.
Support Overhang Angle
Choosing the angle for support overhangs is another tricky thing. On the one hand, smaller angles generate more supports, while larger angles reduce supports. However, the best setting finds a balance in order to make removal easy.
The default setting is 40° and we recommend to adjust based on your results, so if if the model bottom sags or strings, you should decrease the angle. And if you find that too many supports form, it can be effective to increase the angle.
Support/Object XY Distance
As for the XY distance for supports and objects, the default setting is 0.5 mm, which generally speaking is a good balance.
Soluble Support Settings
Soluble supports can be set very small or even completely tuned down to 0 mm interface distance, but generally, you will want a little distance. If you find that supports fall off easily, then increase density or reduce interface distance.
we also get the option to adjust wall thickness. This is especially important for soluble support structures, as a single layer can have issues with solvent seeping through when you remove the support. In this case, we recommend at least 2-3 layers for a more robust approach.
How to Remove Supports from 3D Prints
The last section for today will briefly cover how you can remove your support structures once they have been printed together with your desired model.
Normal Supports
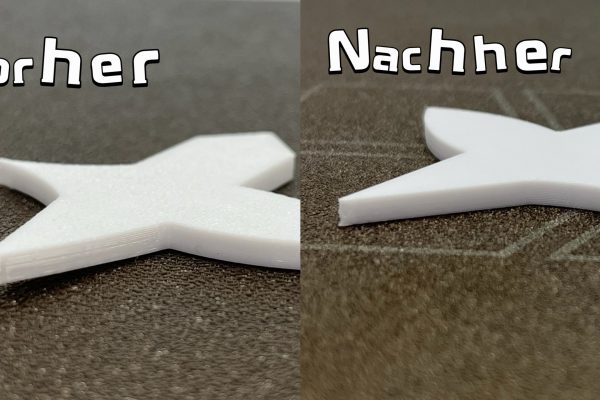
Before you begin working on your printed design, you should always allow the model to cool down to an appropriate working temperature to avoid any accidents. However, supports are easier to remove when slightly warm, so timing this step right can be helpful as completely cooled off objects are more rigid.
We recommend that you start by removing the supports from the outside in, and also work your way from large to small structures. One technique that many people find useful, is to twist gently or shake up and down. Many times, the supports can simply snap off, but you might need a small tool to help you cut out tough parts.

Soluble Supports
For soluble support structures, the process is different. It will depend on your chosen filament in particular, so remember to read the instructions for your specific material. Below, we have outlined a rough step-by-step guide for both PVA and HIPS, based on our own experience:
PVA:
- Soak in warm water (30–40°C) for several hours.
- Stir regularly or use a soft brush to speed up dissolution.
- Rinse thoroughly with clean water and let dry.
HIPS:
- Soak in limonene solution and seal the container to prevent evaporation or odor.
- Dissolution usually completes in 1–6 hours.
- Remove with pliers, then rinse in fresh limonene to clean residuals.
- Allow solvent to fully evaporate in a well-ventilated area before handling.
When removing soluble supports, especially HIPS, you should work in a decently ventilated area and wear solvent-resistant gloves and goggles. Avoid skin contact with limonene for optimal safety and wash it off fast if any contact happens.
Conclusion
Hopefully we have helped you understand the key points for the basic principles behind 3D printing supports, different settings and how to remove your structures once completed. For new hobbyists it can take some time getting used to, and dialing in on the perfect settings for your specific printer, and each model can also have slightly different optimal settings.
We’ve also covered how to make supports easier to remove, and touched on the difference between normal and soluble 3D printer support types. So remember, practice makes perfect, and always keep an eye on your printer from time to time, to avoid wasted hours if the support structure or model is not working as intended. Happy printing!